The Bridger Jack Spires
Part One - Thumbelina & Sunflower Towers
Written by Ian McAlexander
![]()
|
The Bridger Jack Spires Part One - Thumbelina & Sunflower Towers Written by Ian McAlexander
|
|
Thumbelina, Learning To Crawl, 5.11
The last time I tied into a rope was September of 2005. I was with Brad and Pavel on Zenyatta Entrada in Arches and was climbing under a heavy burden. The aid rack was tolerable but a dissertation defense, and job hunt loomed before me. I vanished for the winter and, like the noble groundhog, emerged in the spring ready to play.
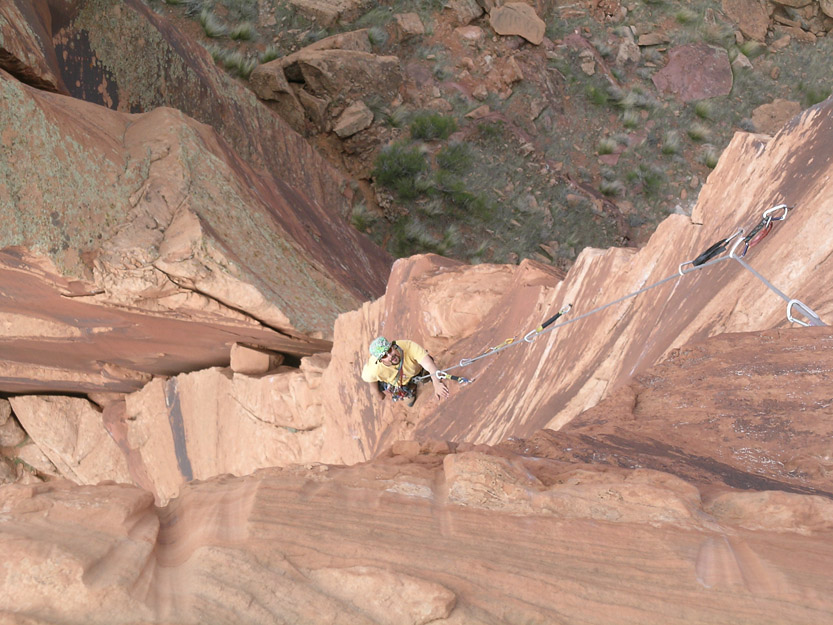
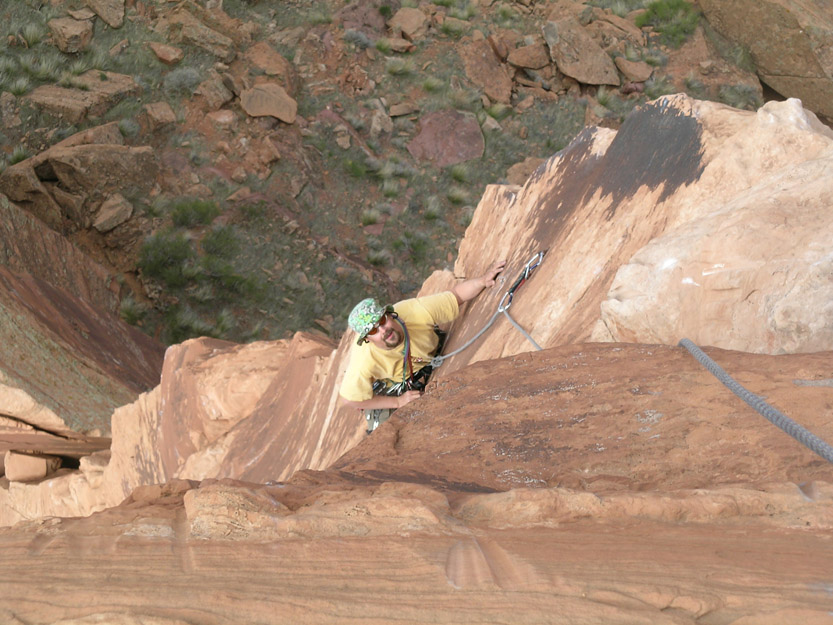
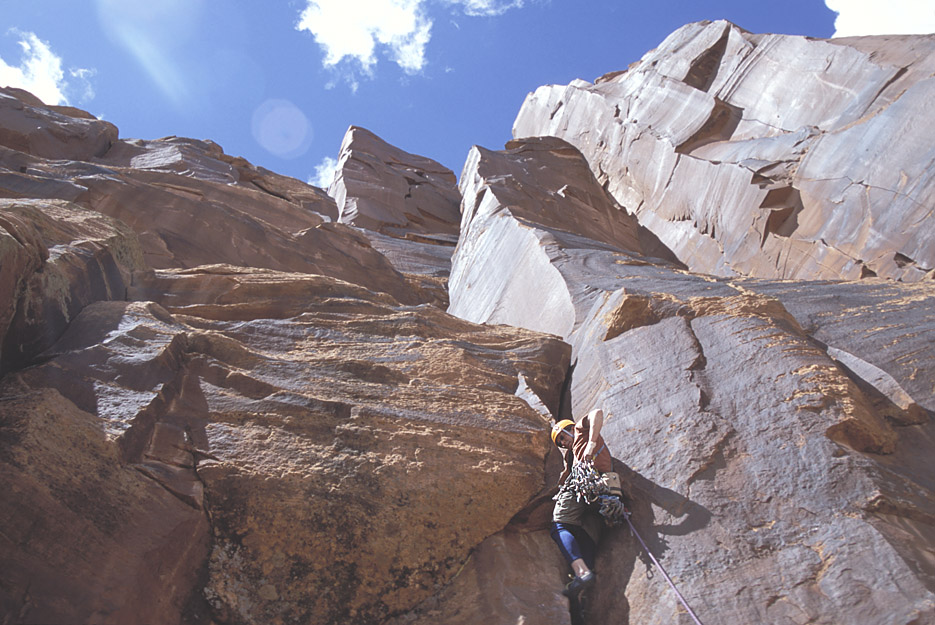
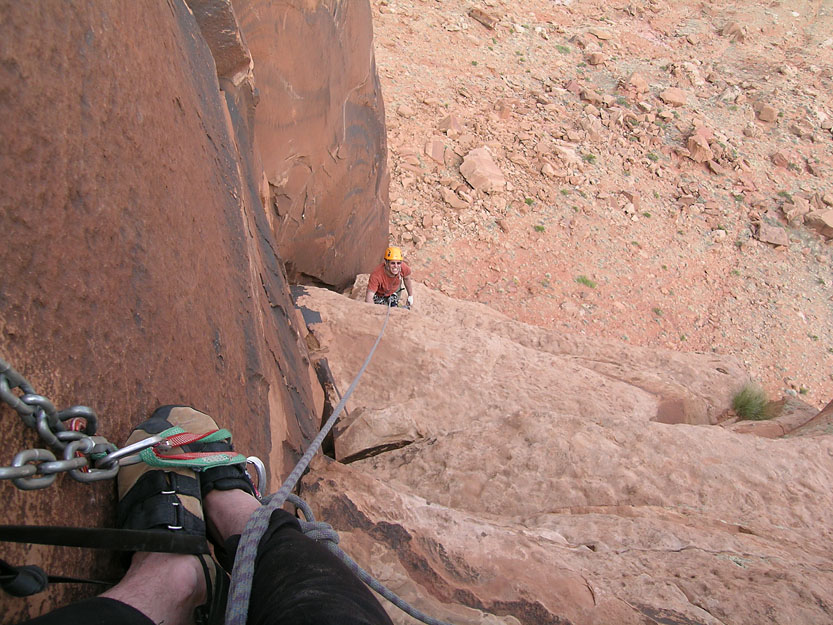
A successful PhD defense and new job landed me in Salt Lake City (my first choice of locations). The mental burden was now light and a weekend elbow deep in cracks was on the schedule. My love of solid rock and Brad's tower fixation made the Bridger Jacks in Indian Creek an excellent compromise. So, straight off the couch, we marched up to Thumbelina to climb the classic arête Learning to Crawl. This is just one long pitch with two very distinct cruxes, both protected by bolts. The remainder of the route can be protected with wires and small cams from good stances.
The first crux weighs in at 10+ but is a bit height dependent (I'm 5' 8 and was stretched). There was a brief hang but only to test the quality of the bolt and enjoy the view. Brad rudely hiked this section. The next crux was much easier to decipher; aid through on slings. From the last bolt, holds on the arête reappear and the route dramatically eases. This is a great line, atypical for the desert. As with other classic arêtes (Corrugation Corner at Lover's Leap comes to mind), you will be forced onto the steeper face in search of better holds. One should pause there to experience the battle between gravity sucking at ones exposed butt and the wind blasting up ones trousers.
Sunflower Tower , East Face, 5.10+
The East Face of Sunflower Tower was next on the agenda. I surprised Brad by volunteering to lead the 5.10 first pitch. Since last spring I've been trying to onsight 5.10 cracks. My success rate was 50% and I hoped to improve my metric, however, the Utah desert had been the source of every failed onsight. Due to circumstances beyond my control (I'm weak and cowardly), my score dipped to 40%. Oh well, it's only April.
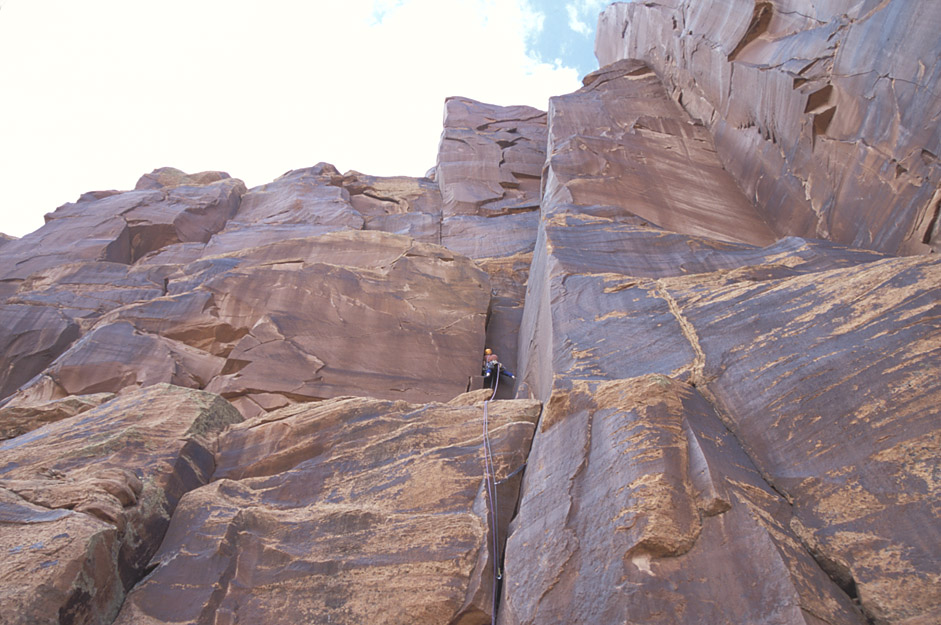
The opening moves of the East Face are strenuous and awkward but quickly ease. The higher stem box is a joy and affords a rare opportunity for well-protected chimney climbing.
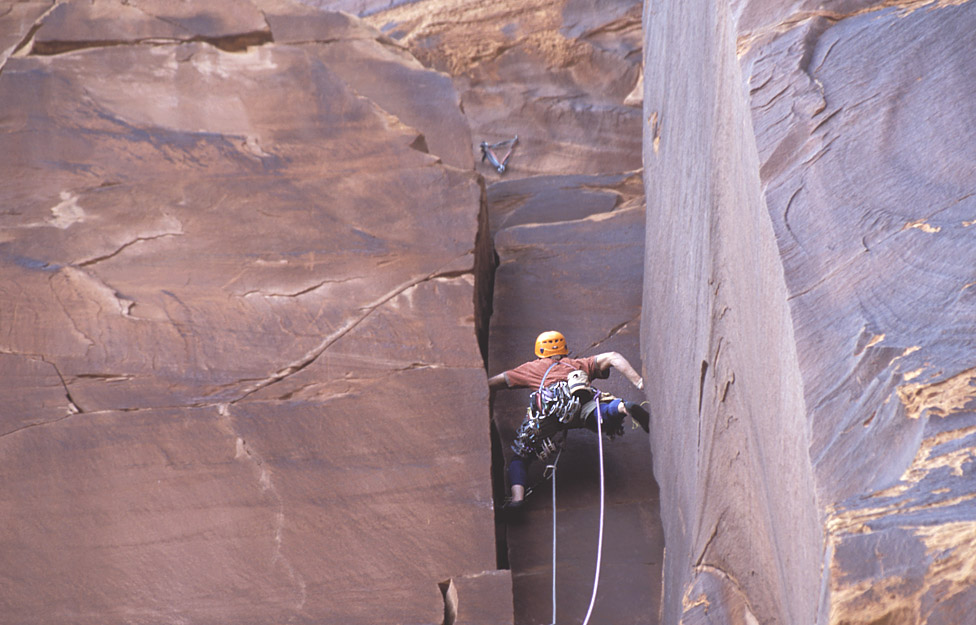
The second pitch gives the leader a choice between standing on a detached flake and falling across to the main wall or downclimbing behind the flake and adding 15' of splitter hands. This was Brad's pitch and he chose the efficient method: fall across, then climb free from the waist down. He calls this Free + Aid technique FrAid climbing and it's his method of choice for getting up routes fast. This is a great pitch, the meat of which is a long shallow tight-hands corner. It's very smooth and uninterrupted by features that might afford a whisper of a rest until quite high (hence the 10+ rating).
The final 5.8 pitch to gain the summit is short but spoooooky. Traverse left on sandy holds with your butt hanging out over some big air. You can lighten your rack by clipping two rusty paperclips along the way which are useful for keeping the rope out of the way. Once across the air-moat you get to contemplate the bulging, sandy, slightly-wider-than-fist crack guarding the summit. At least the crack can be protected by #1 and #2 Camalots beneath the bulge. Brad was kind enough to acknowledge the high funkiness factor of this short pitch (but he still didn't have any trouble with it). Two raps and a short hike later and we were enjoying beers and an apple. A grand day out indeed.
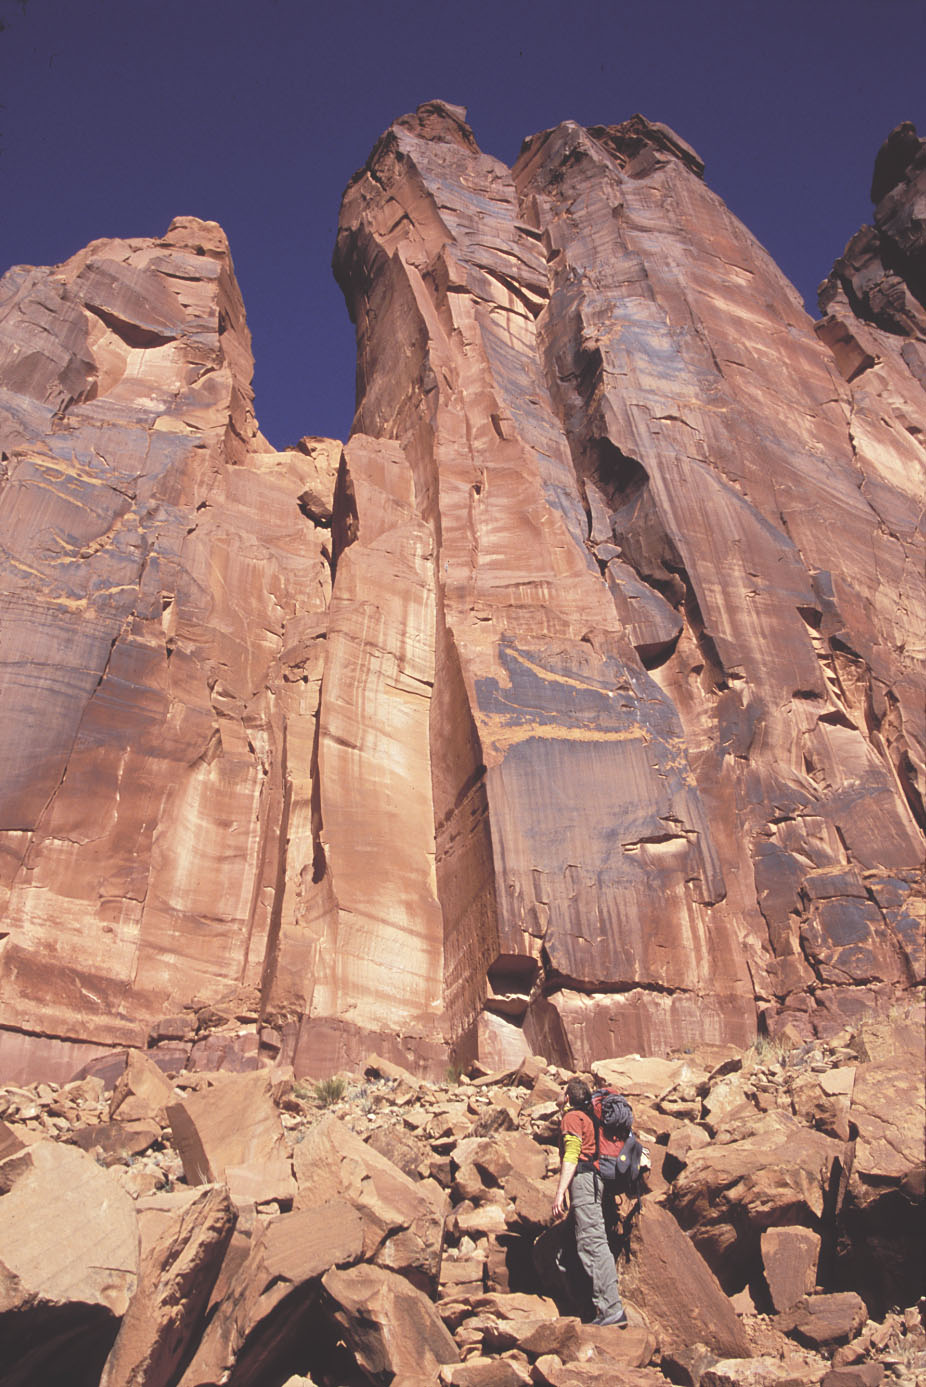
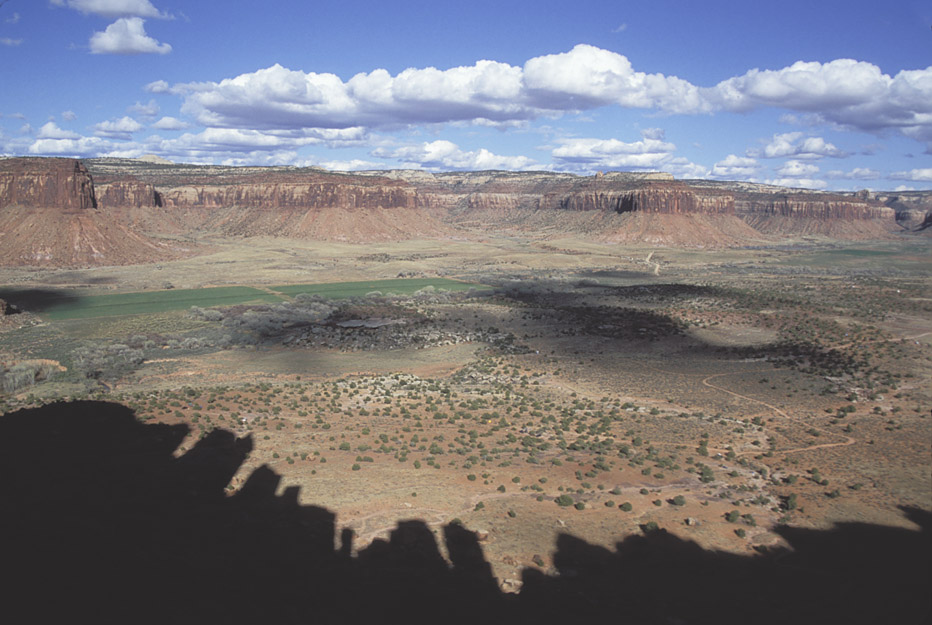
 Looking up at the Bridger Jacks from camp. |
|
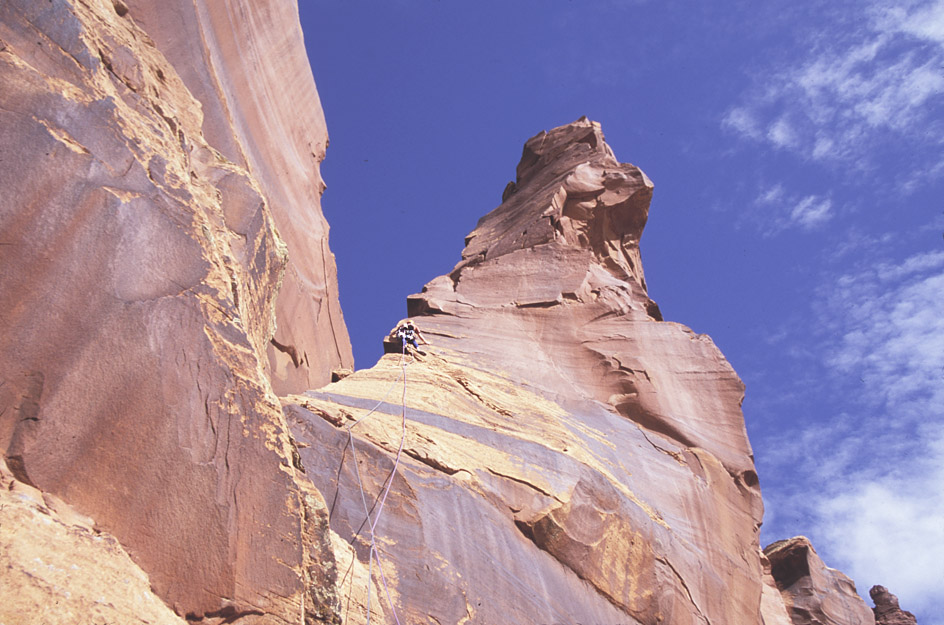
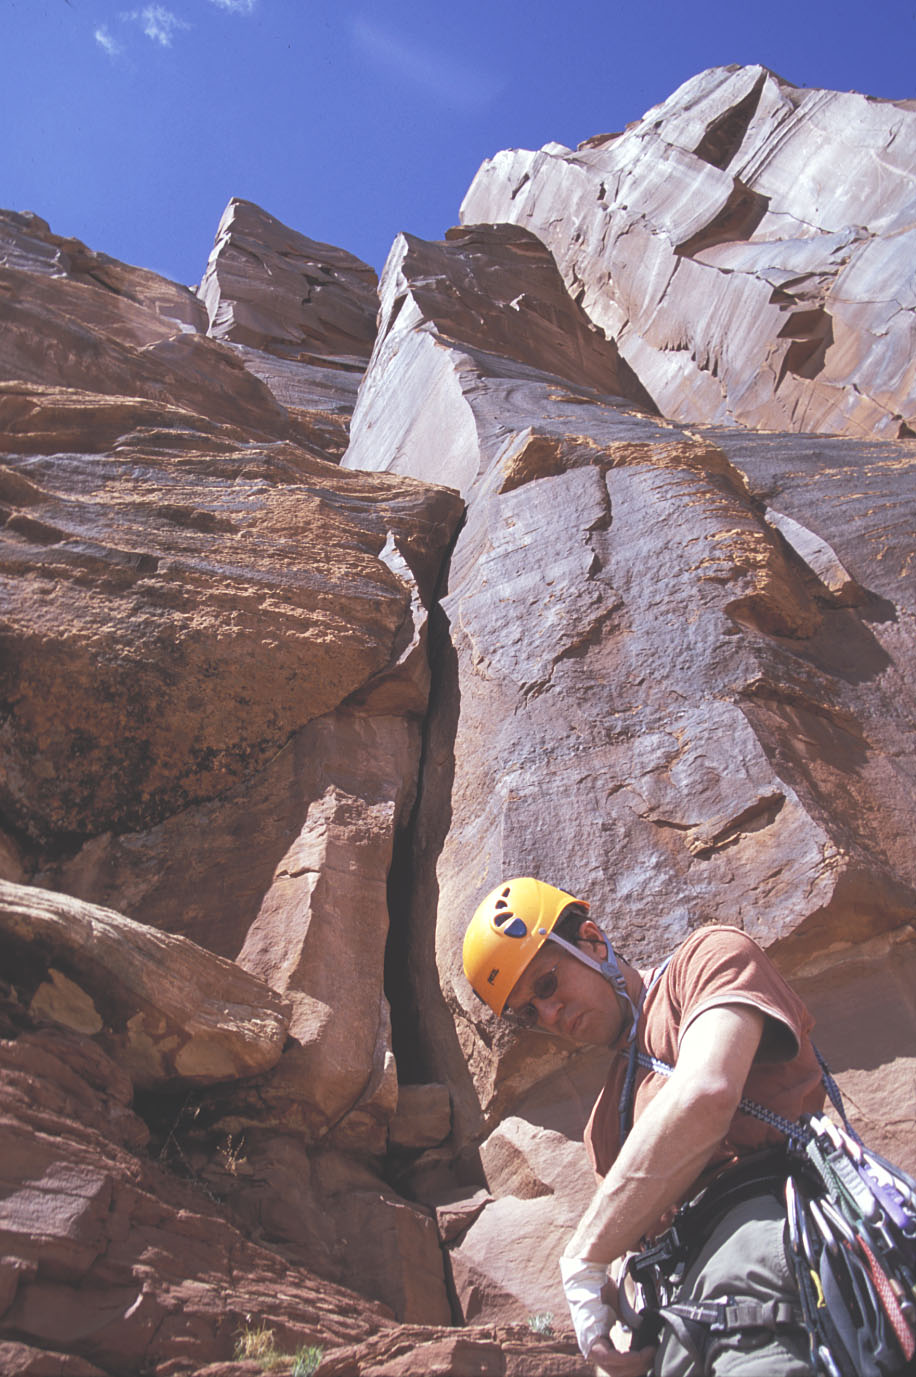
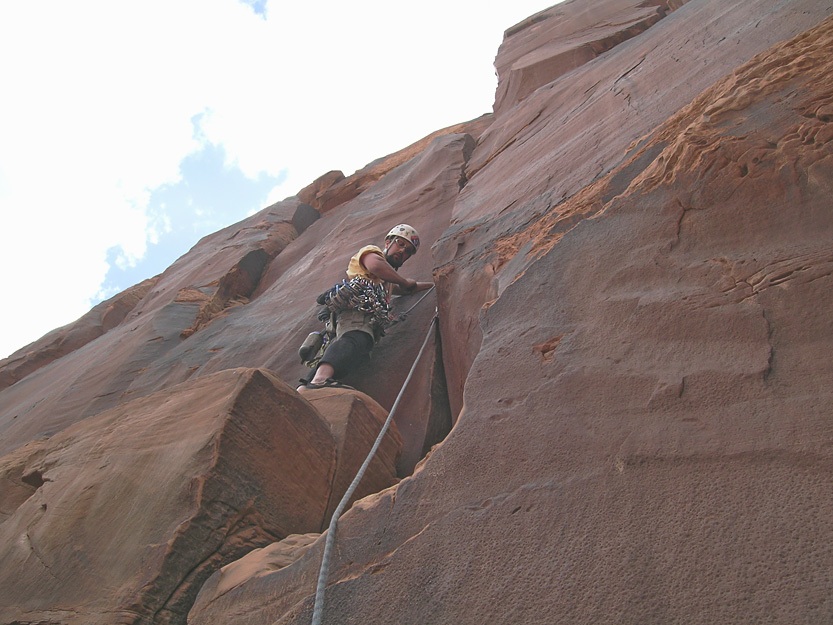
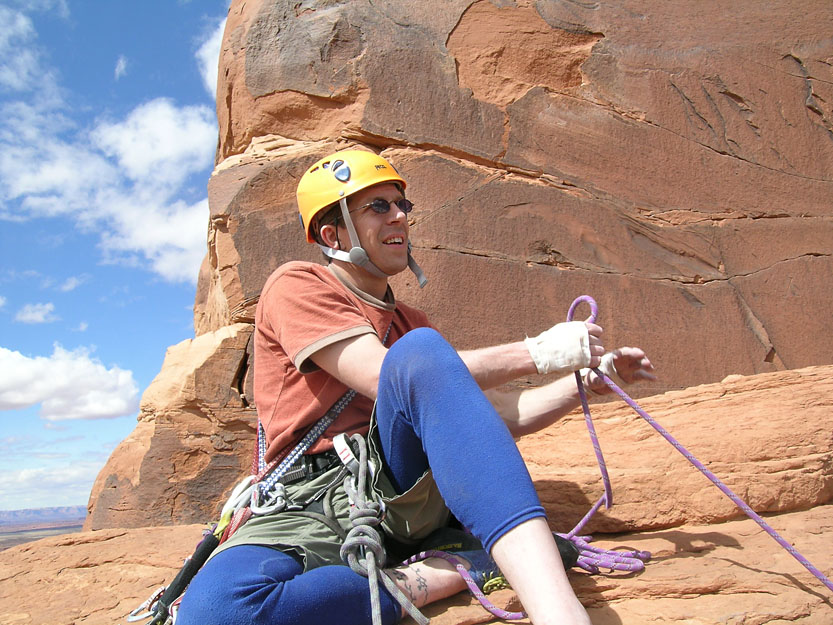
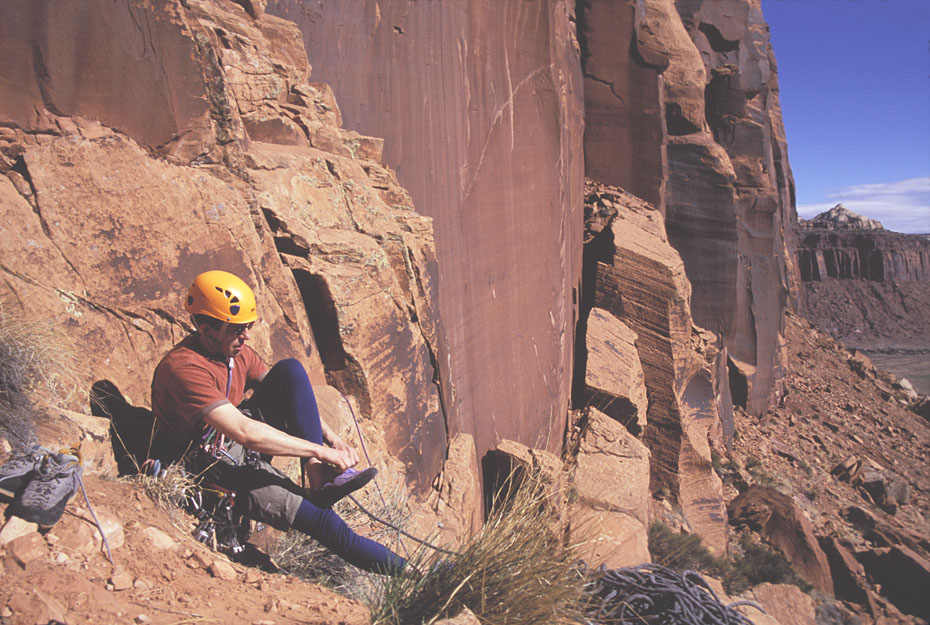 Ian getting ready for his first lead in months. |
|
|
|
|
|
|
|
|
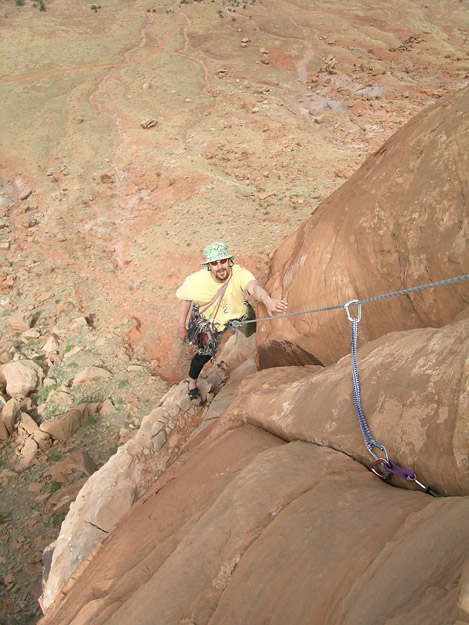
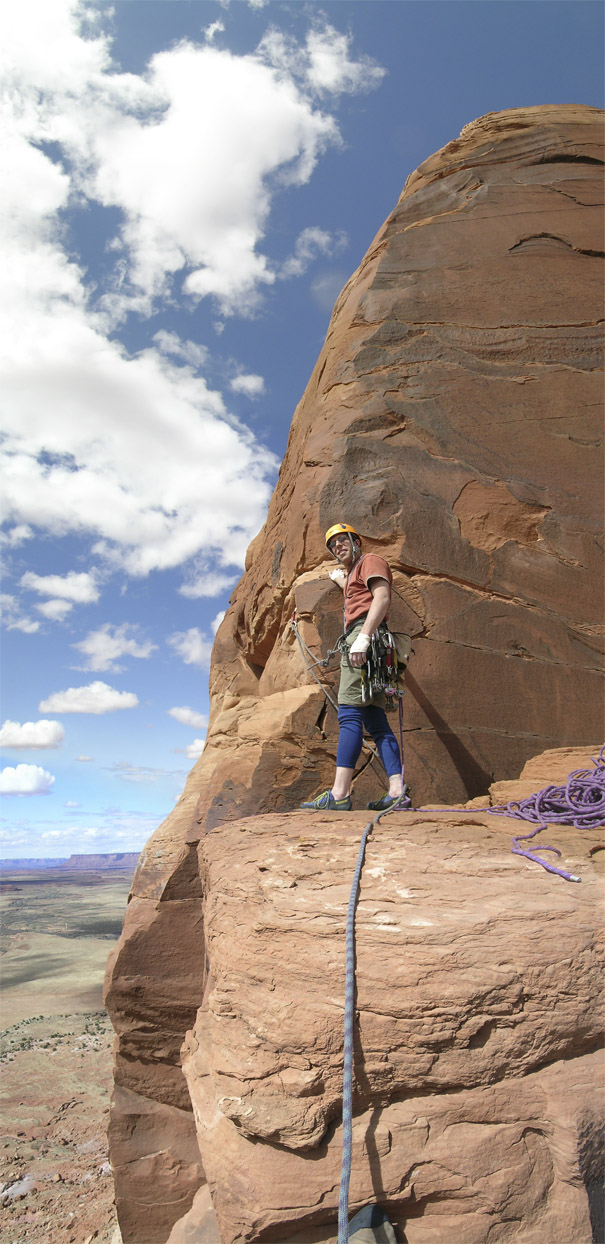
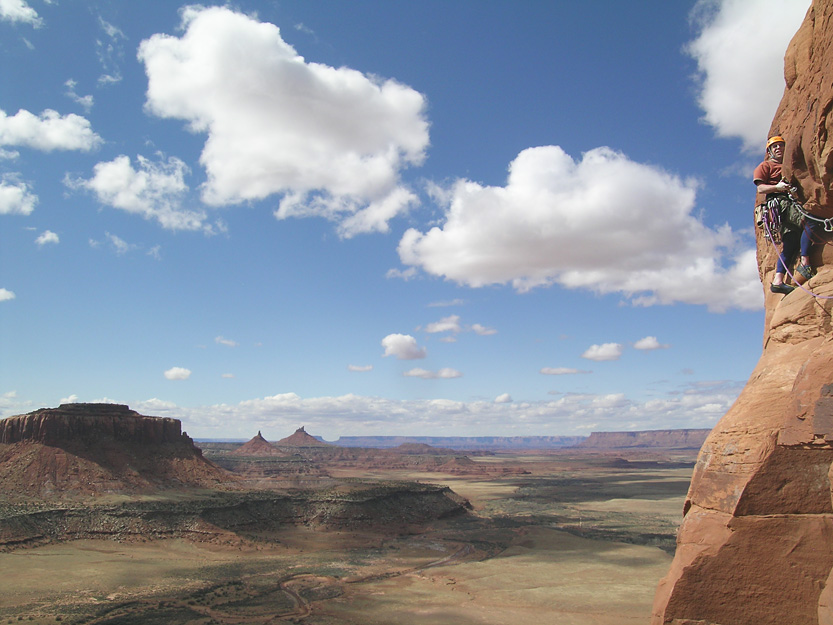
 Ian on top with the seldom climbed Attic visible on the left side of the ridge and Lavender Canyon on the right side. |
 |
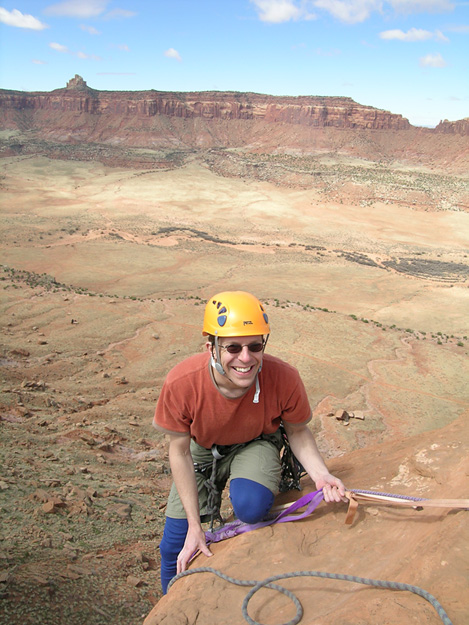
||
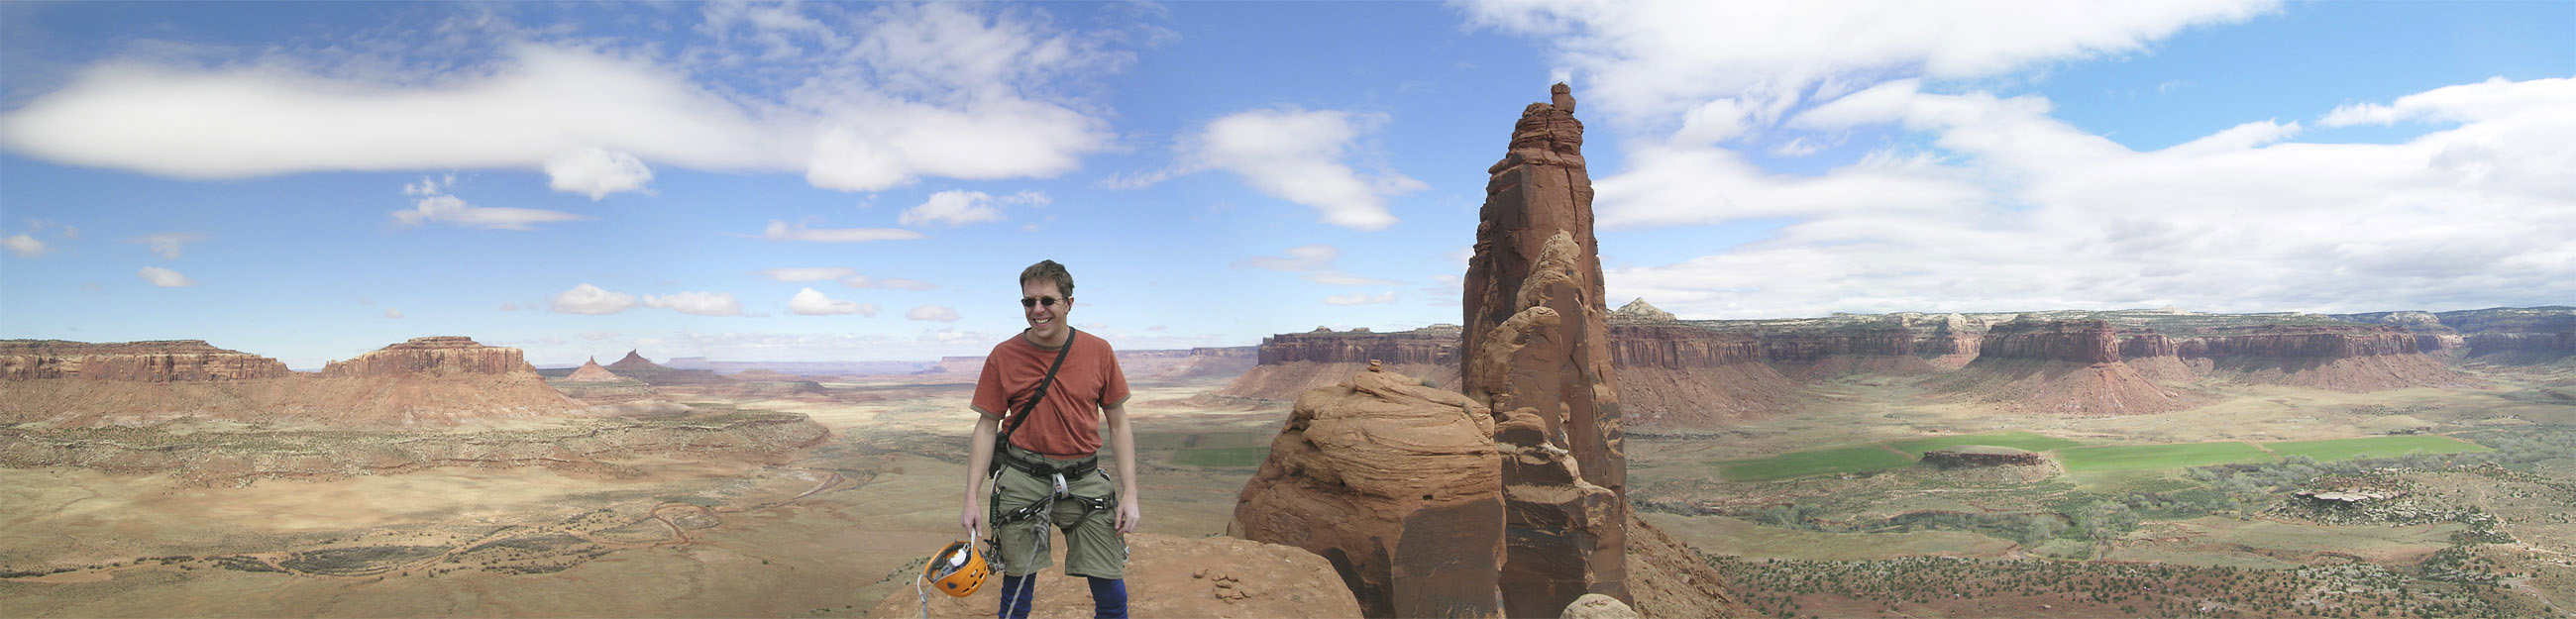
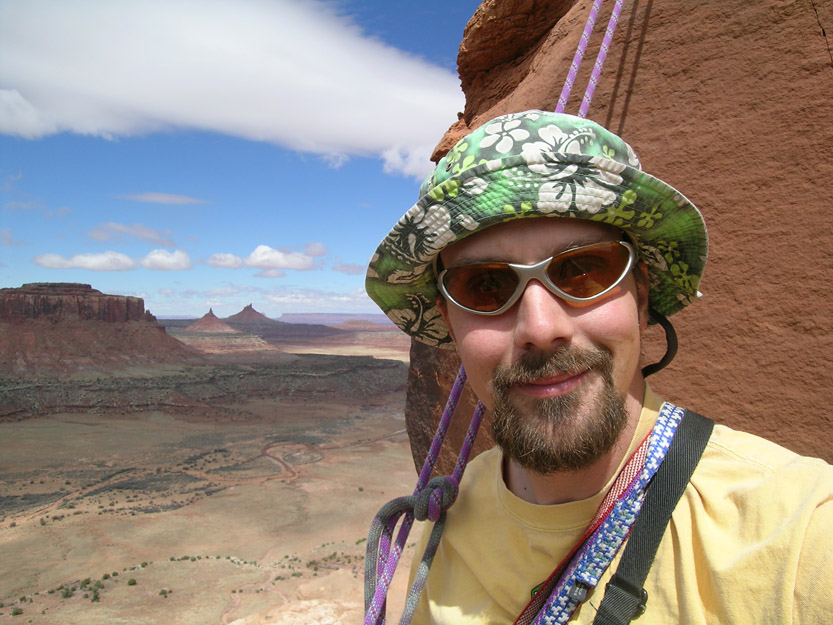
Ian on top of Thumbelina with the magnificent Indian Creek corridor spread out behind him.
|
||
|
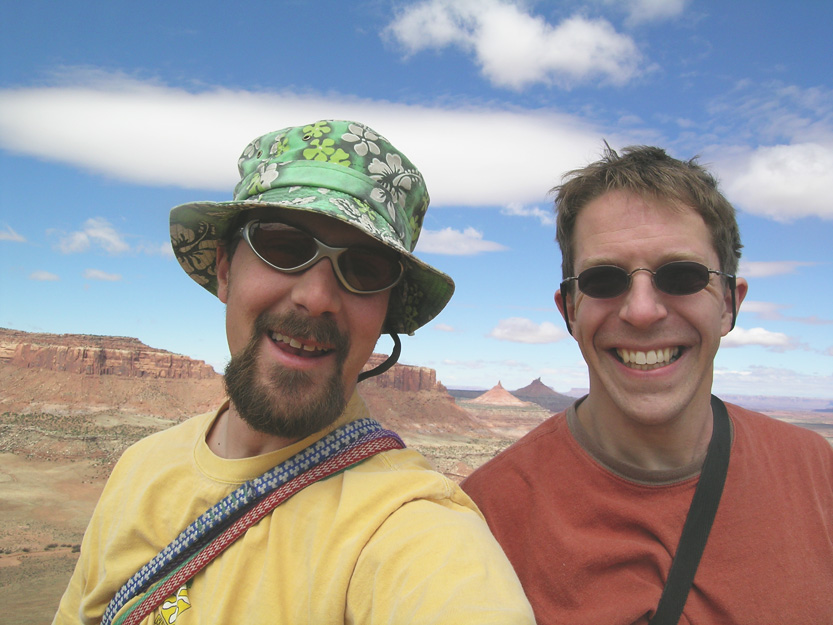
A couple of posers we met on the summit. |
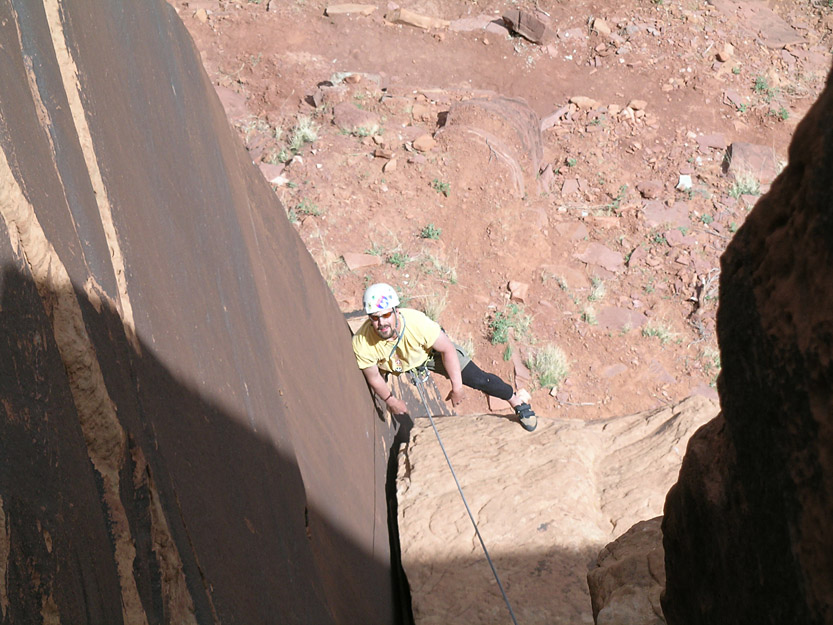
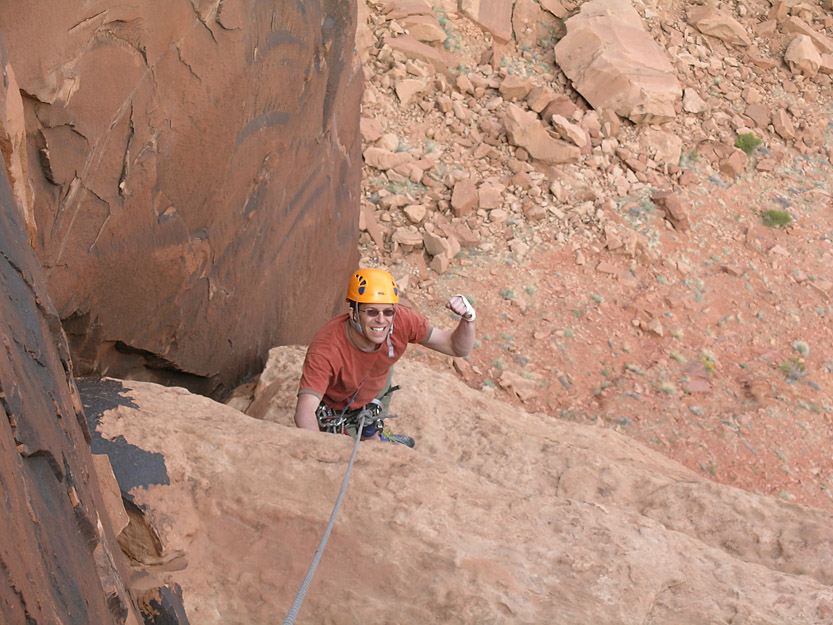
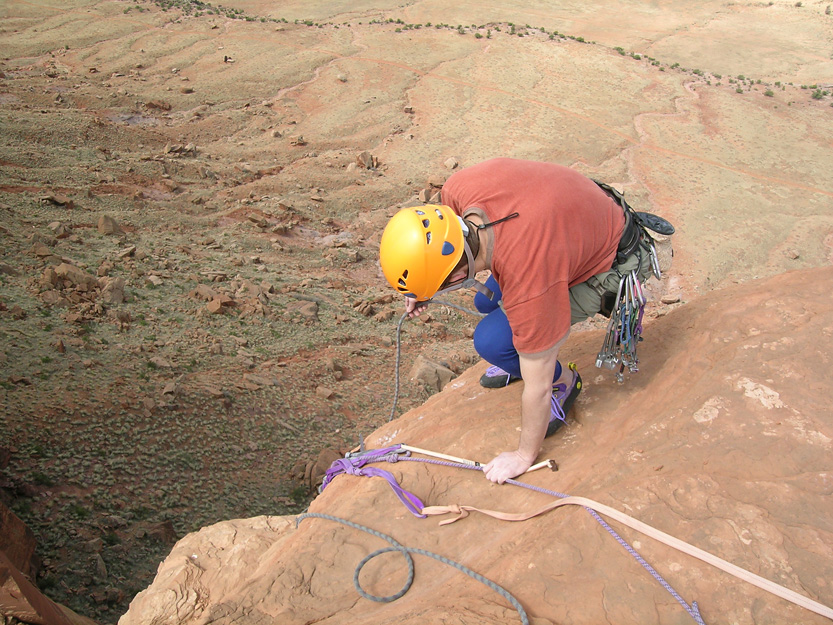 It's always more fun to reverse the last moves over a lip isn't it?. |
|
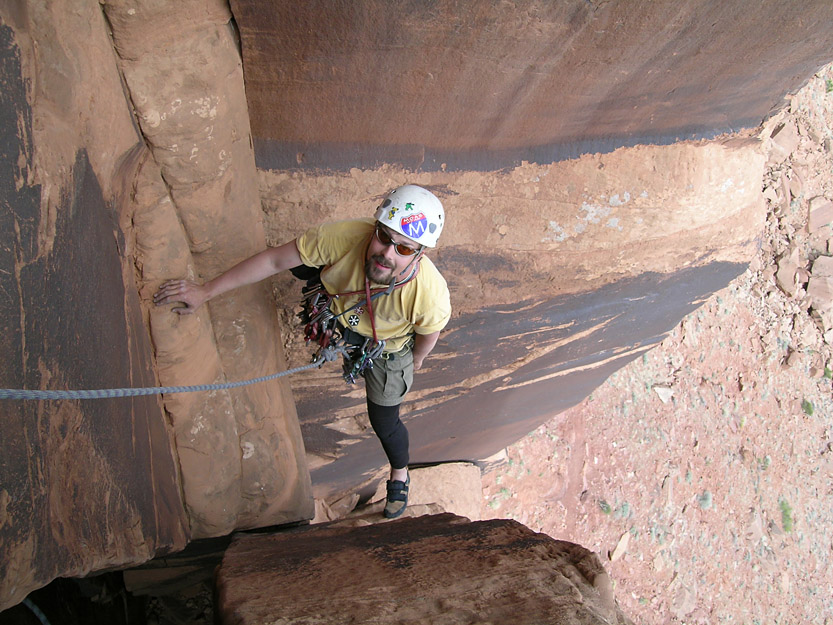
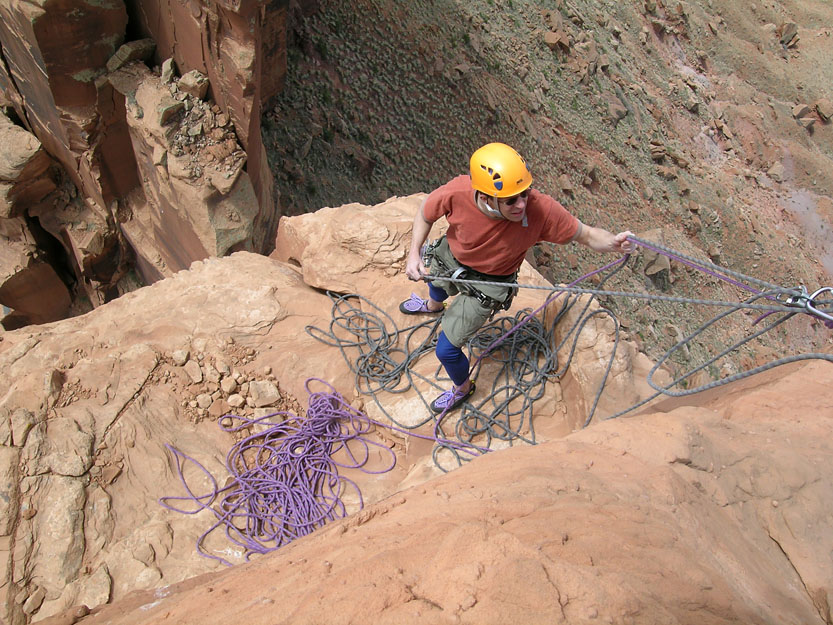 Setting up the rappel. |
 On our way to the next adventure. |
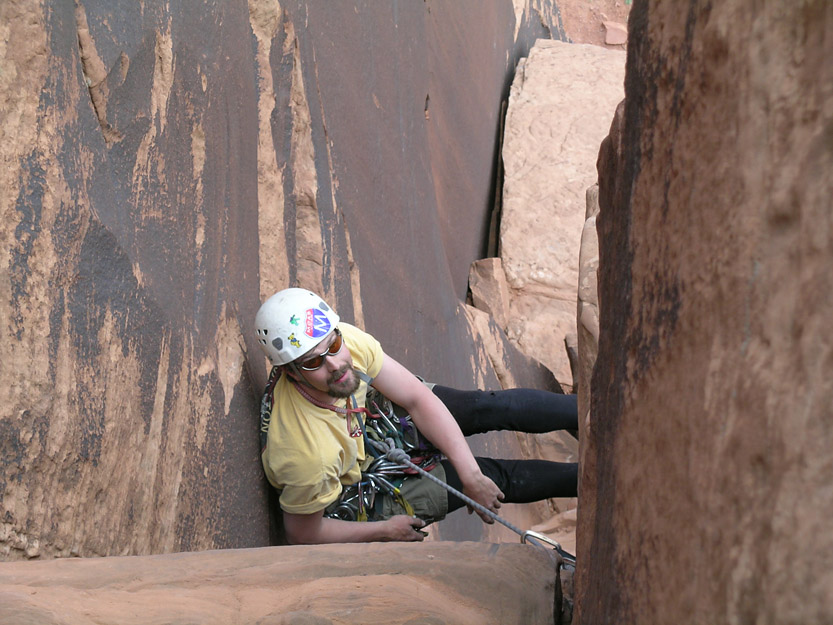
 Waiting to rappel. |
Sunflower Tower Pictures