![]() May, '06
May, '06
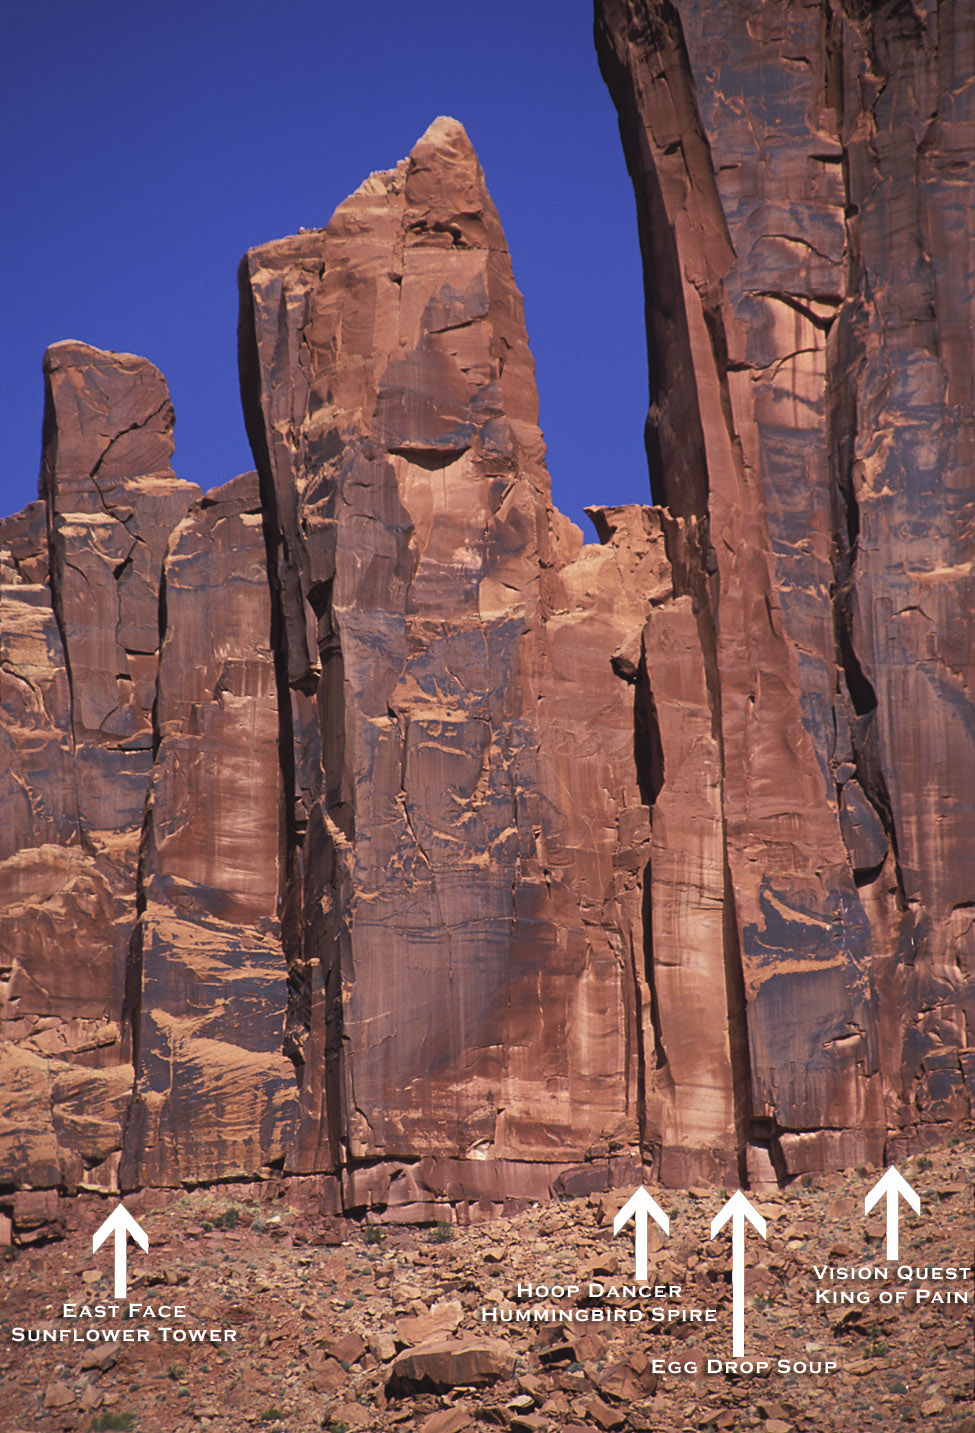
Hummingbird Spire
'Egg Drop Soup to Hoop Dancer'
Written by Ian McAlexander
![]()
|
Hummingbird Spire 'Egg Drop Soup to Hoop Dancer' Written by Ian McAlexander
|
|
In retrospect, we may have resorted to cannibalism too quickly. No wait, that was in the Bugaboos. Never mind. Ah, another sunny and solid Bridger Jack spire, the fifth of six. Our line was Hoop Dancer via the Egg Drop Soup start. We would do this in three pitches, instead of the usual two, to take advantage of an excellent ledge for photos. Thus far, the Bridger Jacks had provided us with abundant climbing in the 5.8 to 5.10 range. Normally a route of this difficulty, with pitches of 5.12, 10 and 11, would be a step up in commitment. Not for us though because we don't climb at this grade. Continuous clean cracks (meaning lots of gear) and low free-climbing expectations (meaning pull on said gear) makes for a short fun day. Egg Drop Soup is the obvious stunning corner between Hummingbird and King of Pain. These walls are smooth; I'm talking Barry White smooth. The line is an uninterrupted crack straight to the belay anchors at a ledge. Impossibly, Brad got off route twice, which is why we don't let him play with skyhooks anymore. He was generous enough to take photos while I played a game of How far can I get on top rope?. The answer is: not as far as I had hoped but farther than you, so quit laughing. The 10 pitch was mercifully short and the brief wide bits were manageable. I built an awkward belay at the catwalk between the towers, which would have to be adjusted to accommodate a lower-out to the start of the famous north face. Oh-baby what a crack! This overhanging wall sits opposing the King of Pain and is unobservable from the base. Brad walked the belay perch to where it met Hummingbird Spire and placed a piece at his feet. I lowered him the 20' on our haul line to a platform so he could gain the lightning bolt crack. A triangular block at the start enabled Brad to stem and place the first piece about 12 feet off the deck. Unavoidably, the rope angled down from the belay to Brad, then up to his first piece. Aware of the problems this creates (rope drag for the leader, unprotected down climbing for the second), Brad climbed to about 30', then cleaned the lower portion of the climb. He cruised the pitch, occasionally back cleaning the numerous #1 and #2 Camalots. Once clearing the overhang, he had to gently pick his way through a loose band to gain the summit. He may not like loose rock, but he's getting awfully good at climbing it. Hmmm Instead of down climbing to the start, I opted to pendulum out to the triangular block. I stuck it first try and leaned across to the main wall to regain balance. Let me just say it again; oh baby, what a crack! This beastie is overhanging for about 80', steepening like a cresting wave, varying from thin-to-perfect hands, meandering left-ward and is occasionally punctuated with wedged flakes which provide more feet and hand holds than expected. This is one of those pitches that makes you feel like a superhero; slam dunking hand after hand, cutting loose with the feet, shaking out on a wild overhang with a leg dangling in space. Believe the hype, it's good. Pulling into the loose band, I looked up at Brad. Good pitch says he. Good pitch I wheeze. |
||
|
Starting the now-familiar approach. |
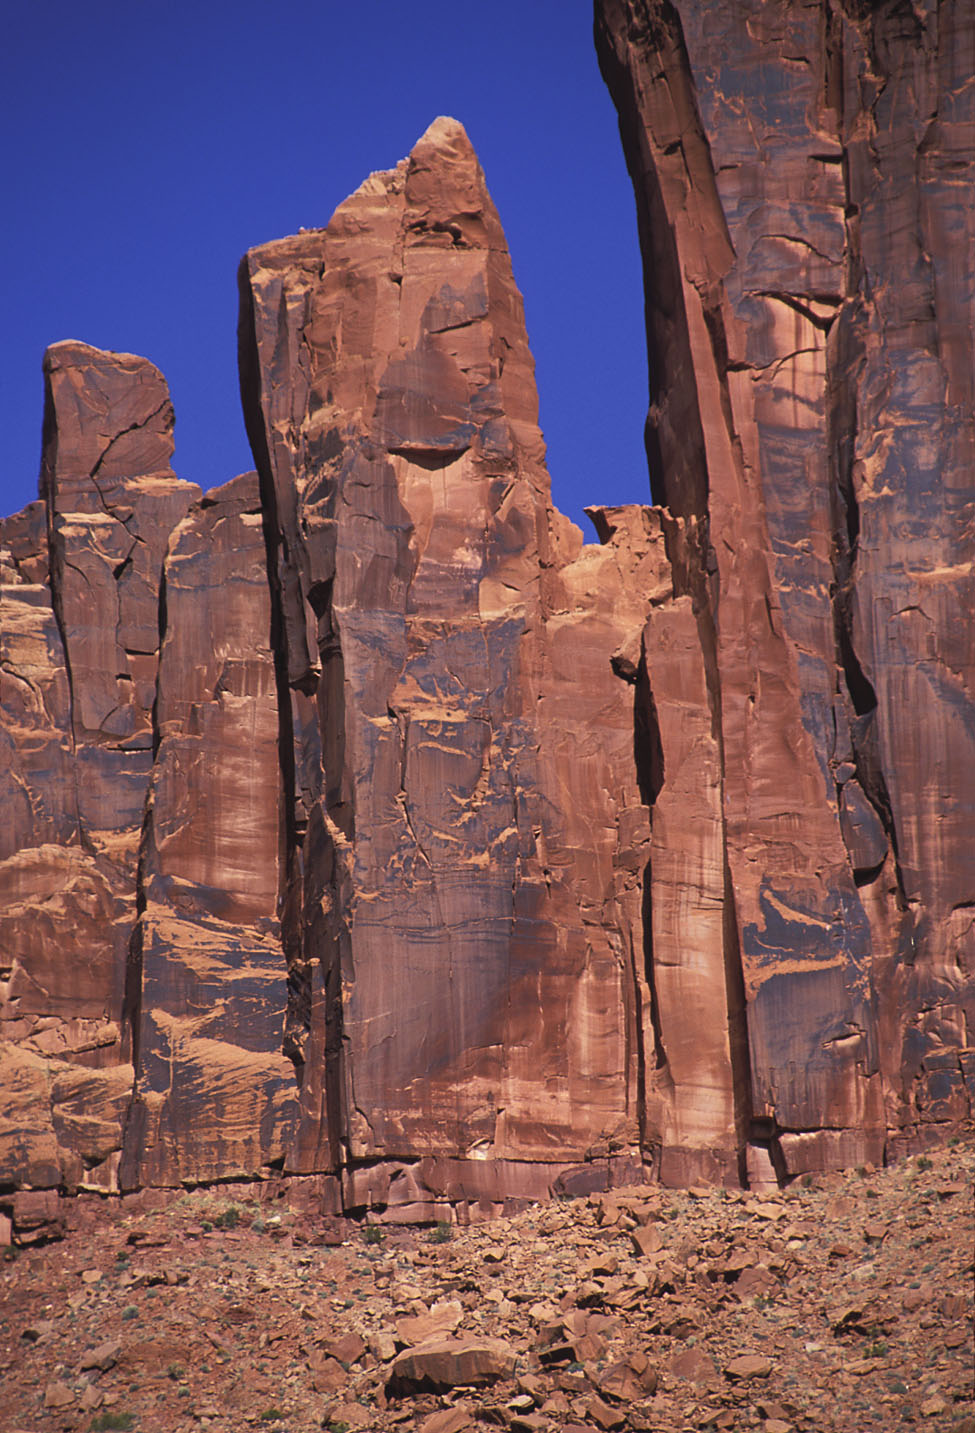
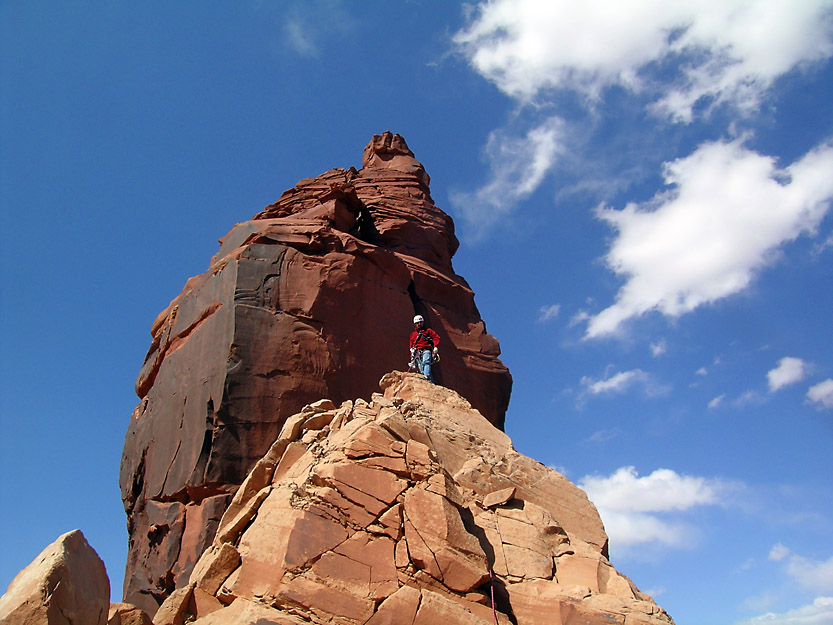
A Large Picture of Hummingbird Spire. CLICK HERE to see this picture with some routes marked. |
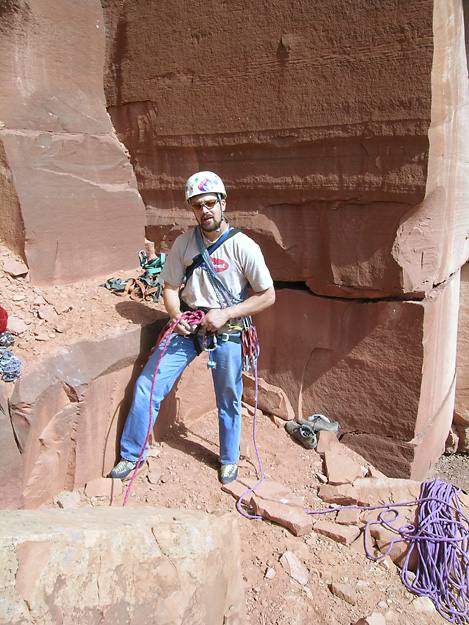
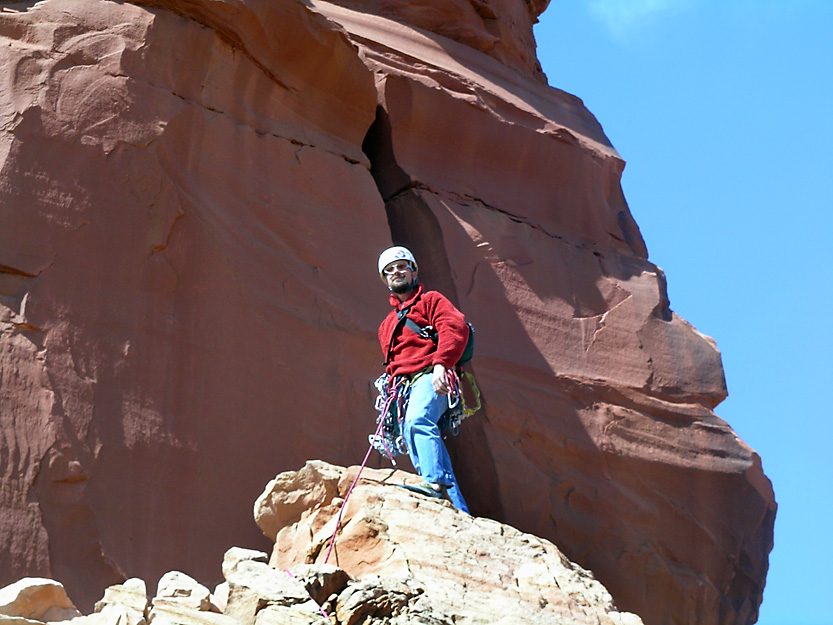
Feeling tough because I know I'm going to aid, and that makes this pitch just a little bit easier than walking up the approach trail. |
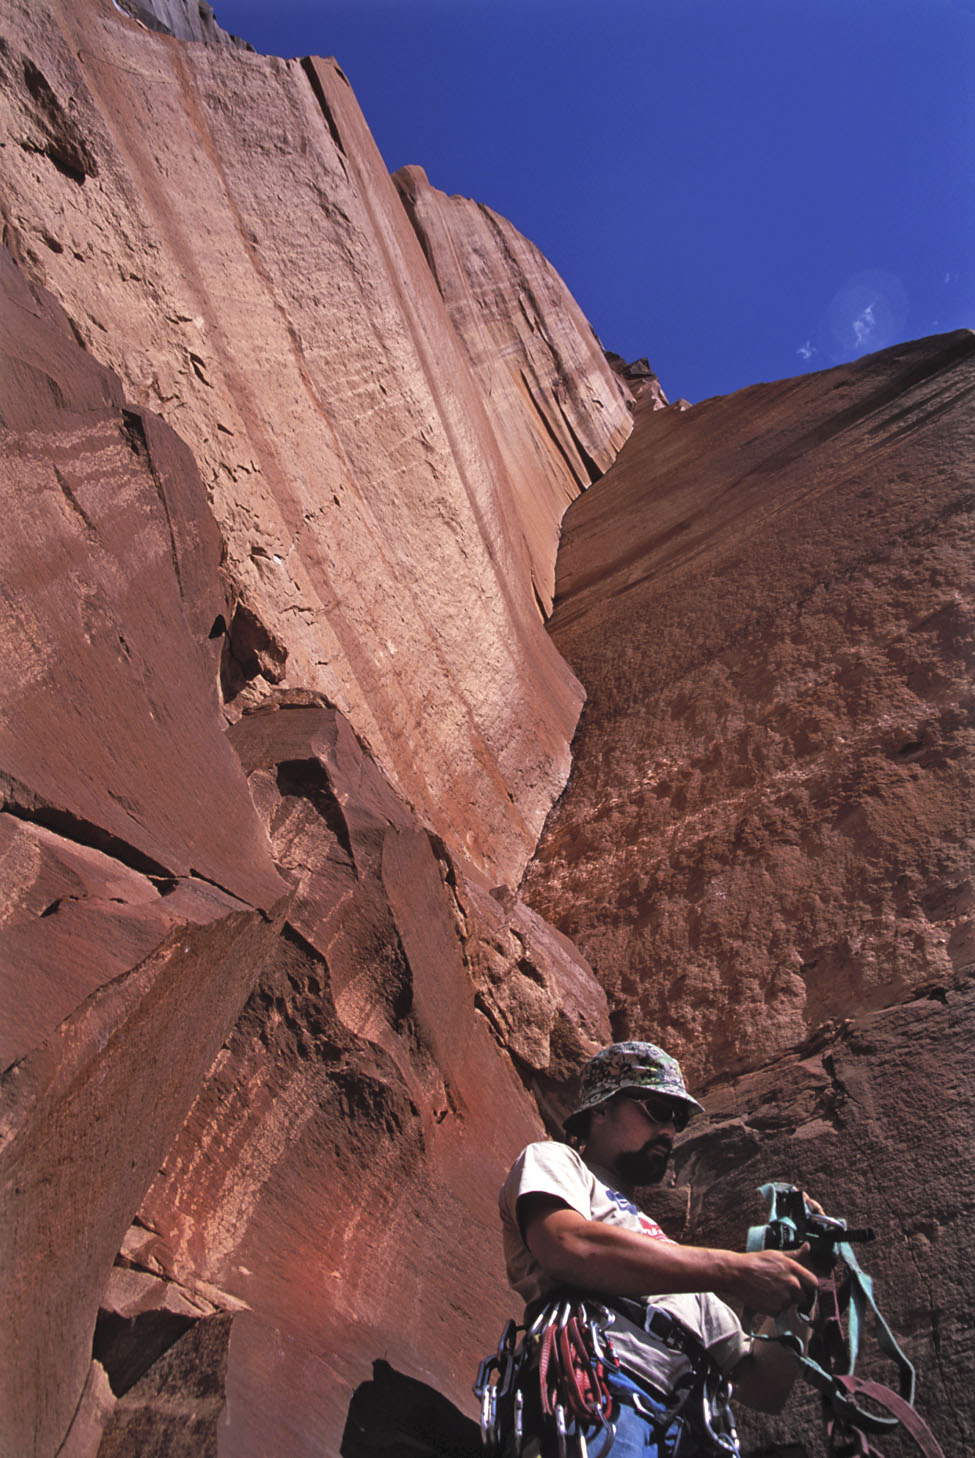
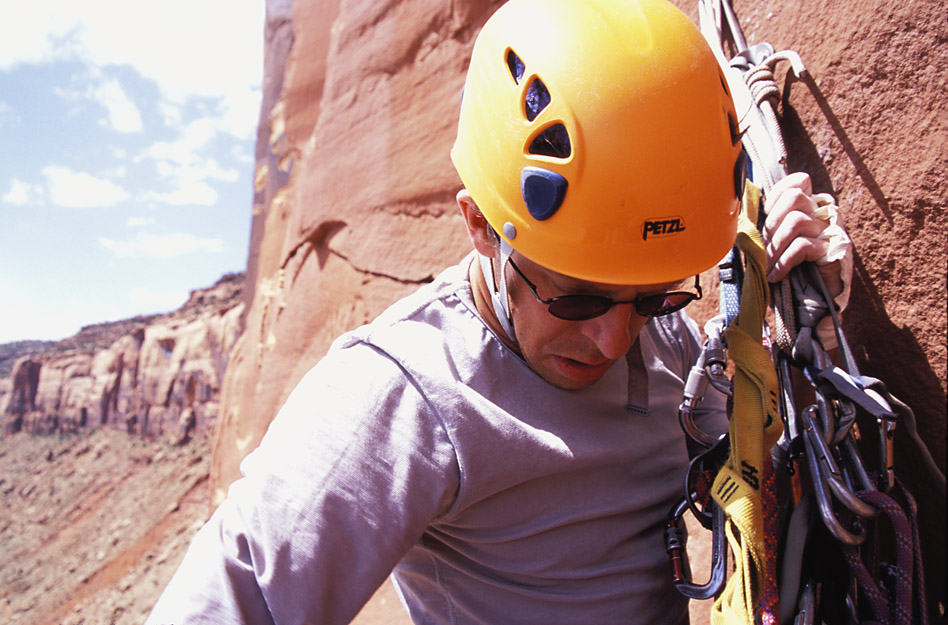
Getting the proper equipment ready. (Large) |
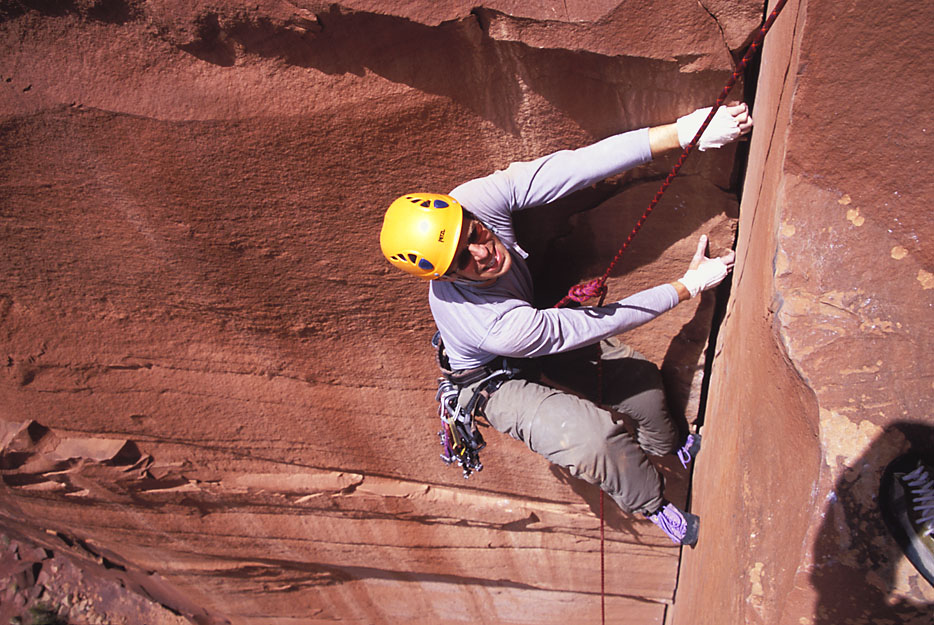
Here I am at the end of the free climbing on the first pitch. |
This is truly an amazingly clean corner. |
This would be an outstanding send as a free climb. |
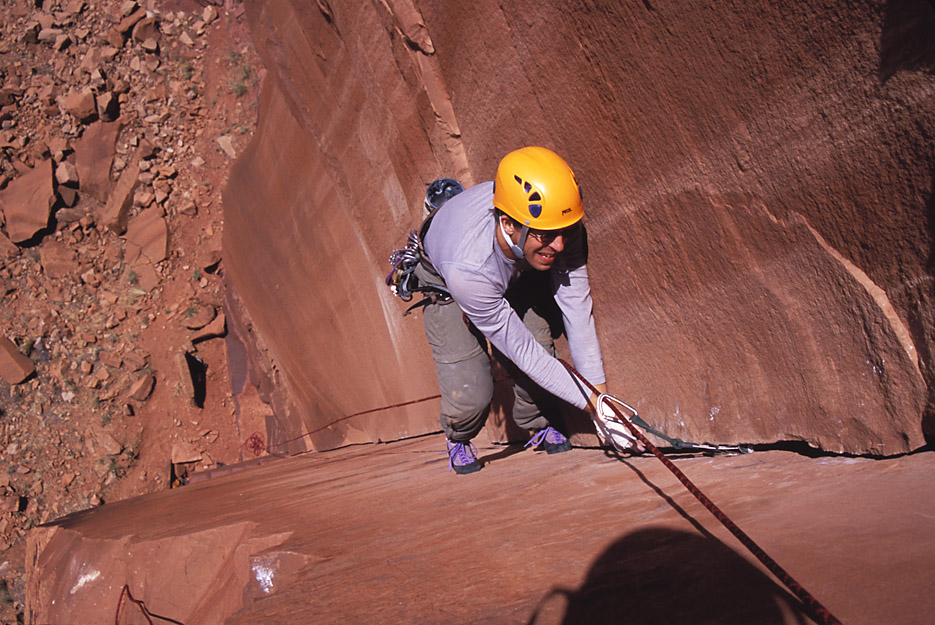
At this point, it's probably best to just start racing up as fast as your breath will allow. |
The real fun begins... |
It would take some serious endurance to layback this whole corner. |
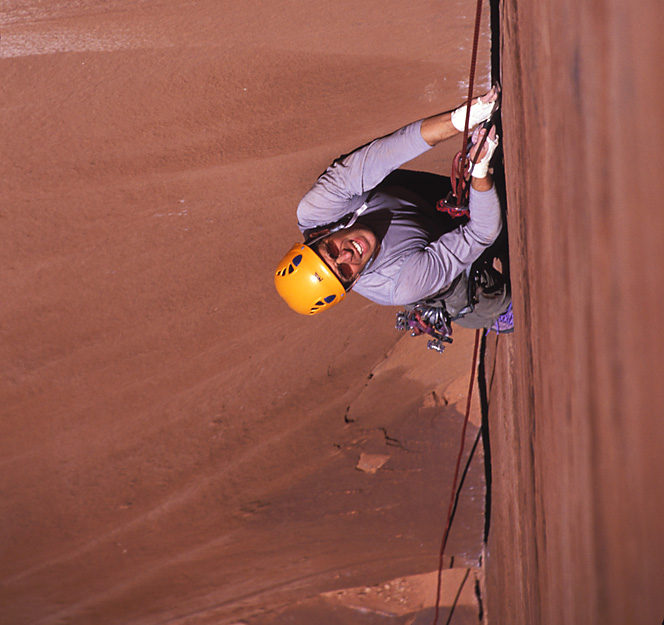
A close up. |
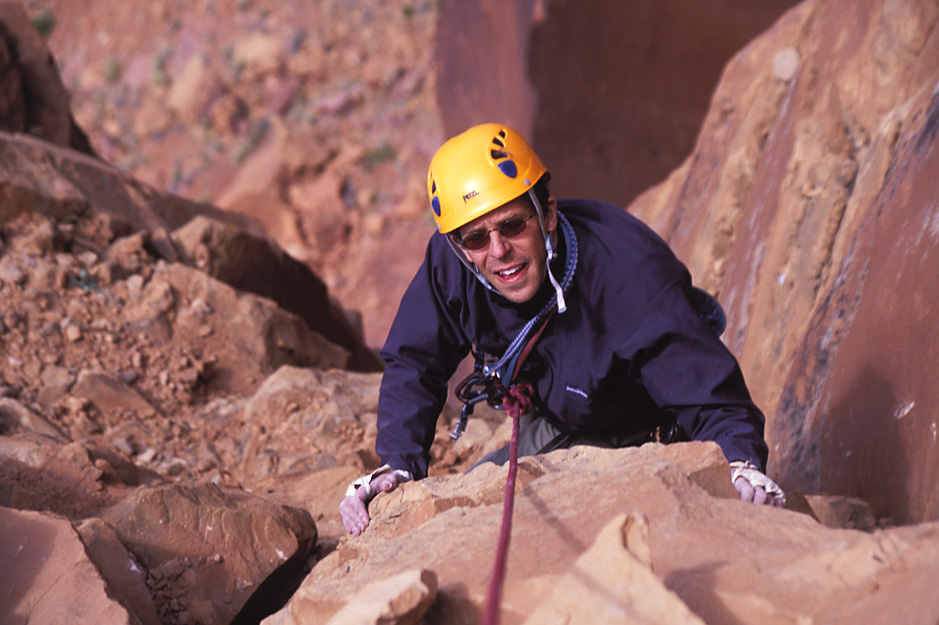
It's important to stay relaxed when you climb and to take full advantage of any rests that present themselves. |
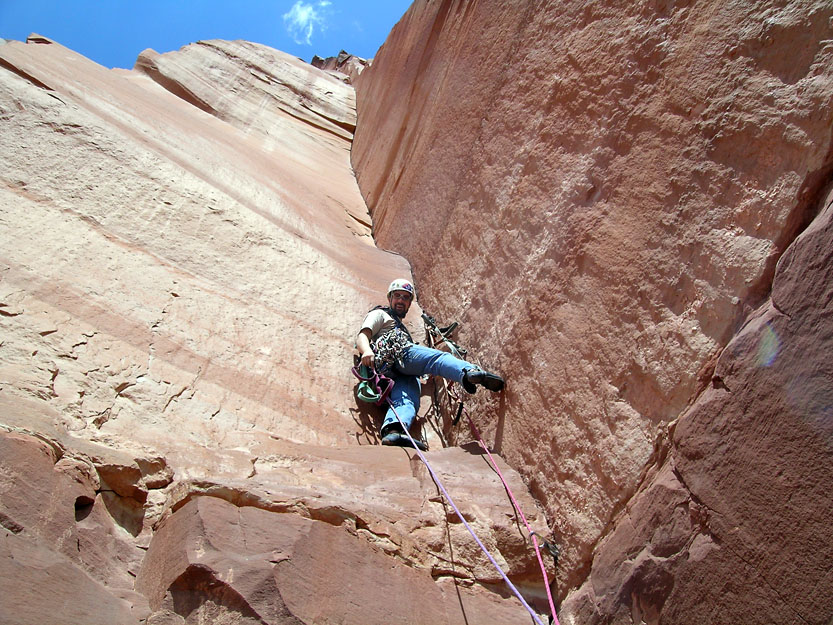
Looking out from the belay atop Egg Drop Soup. |
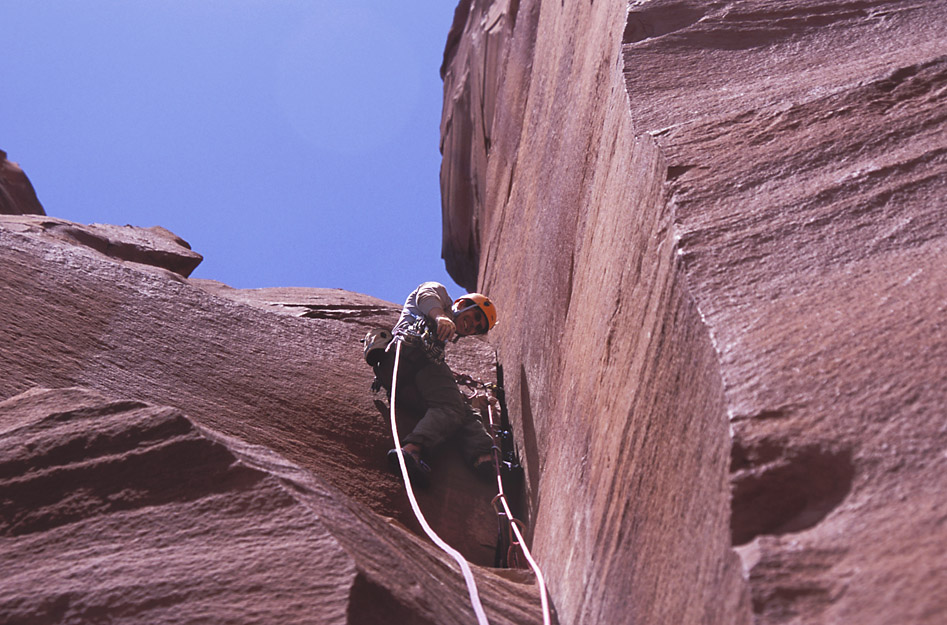
Ian cranking his way into the roof. |
And around the roof! |
And working hard to finish strong... |
This move is kind of a pain in the ass if you've just freed the section below. |
Of course, we have special ways around these kinds of problems. |
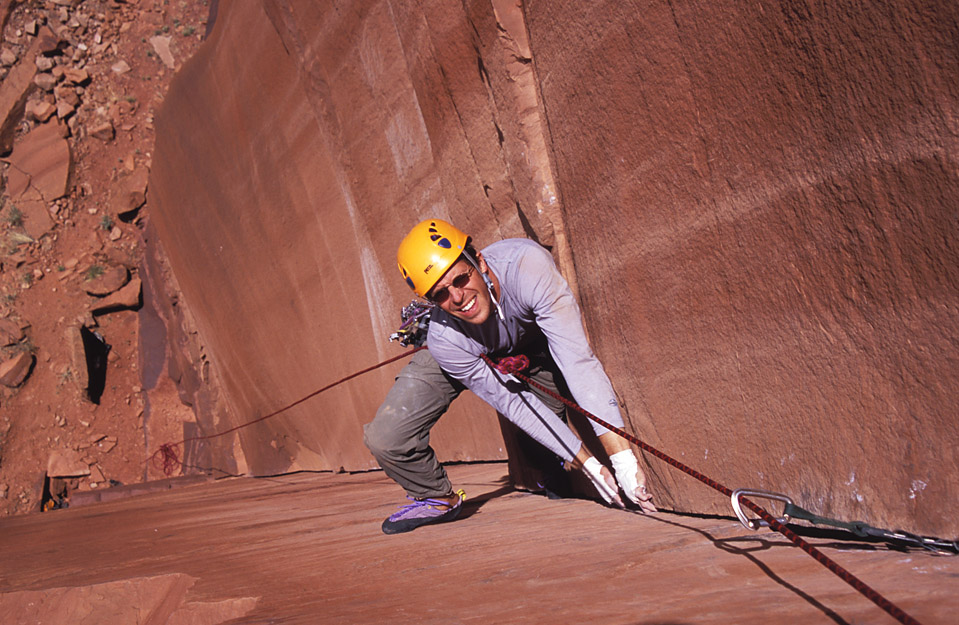
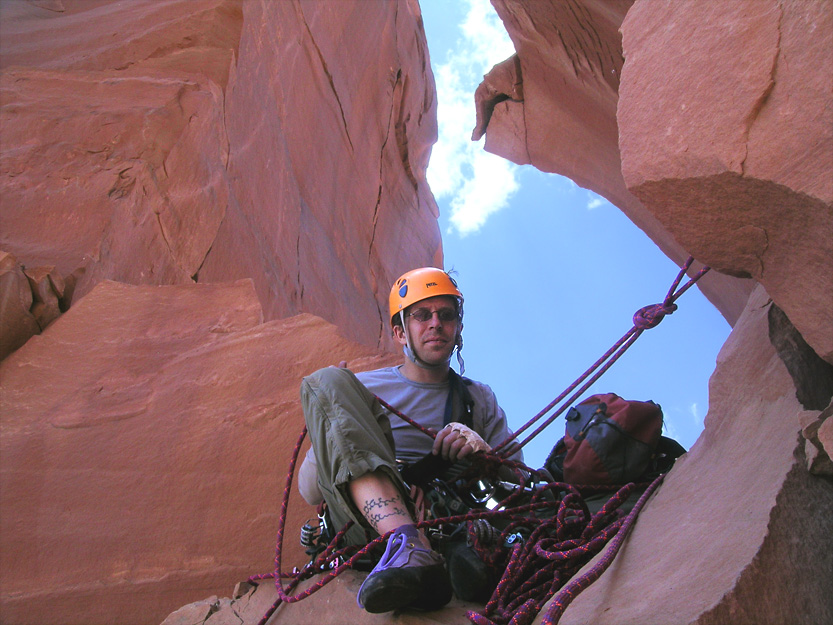
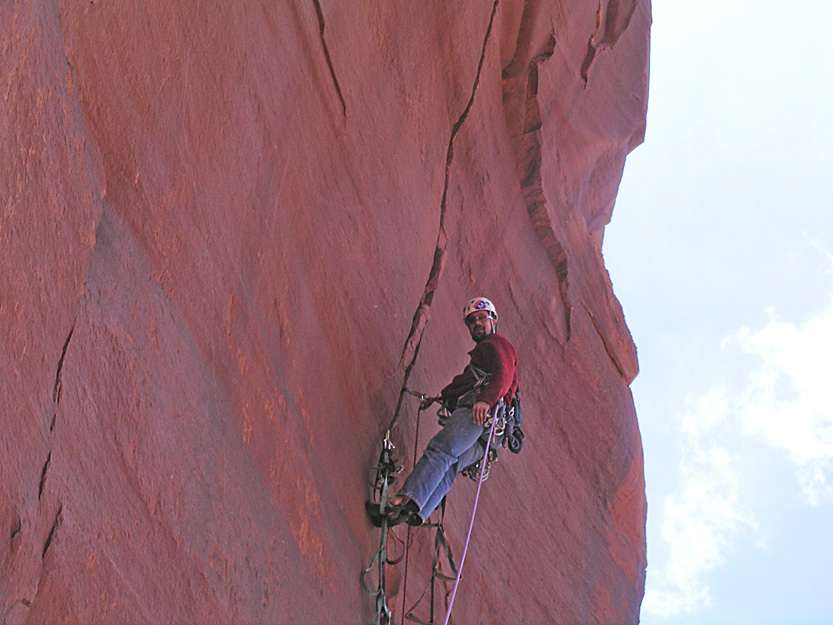
A pumped Ian at the belay. |
Ian's free climbing aspirations take a back seat as he sets off on his lead totally pumped from the last pitch. :) |
This pitch is a little awkward but has some great rests. |
Nearing the top of pitch two. |
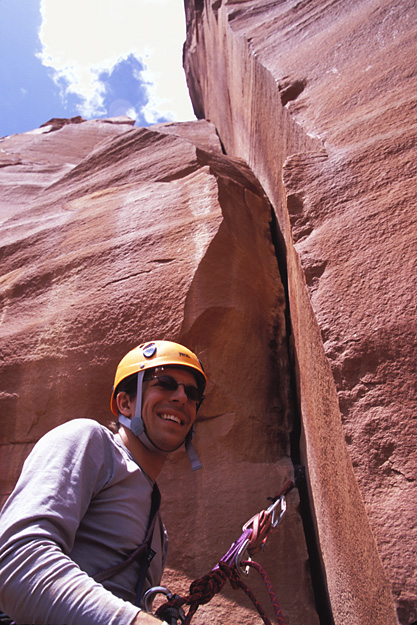
Ian at the awkward belay. |
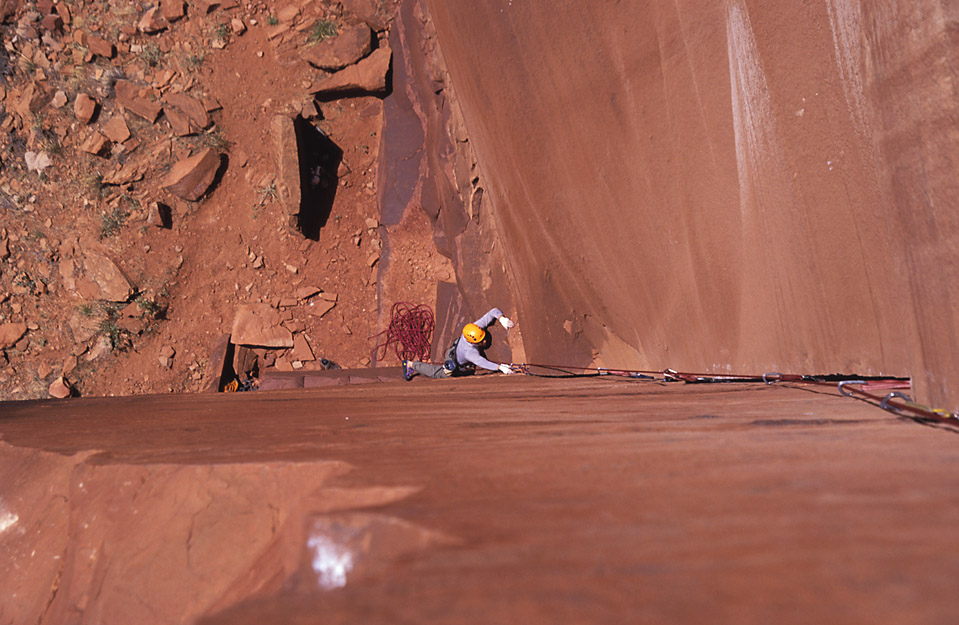
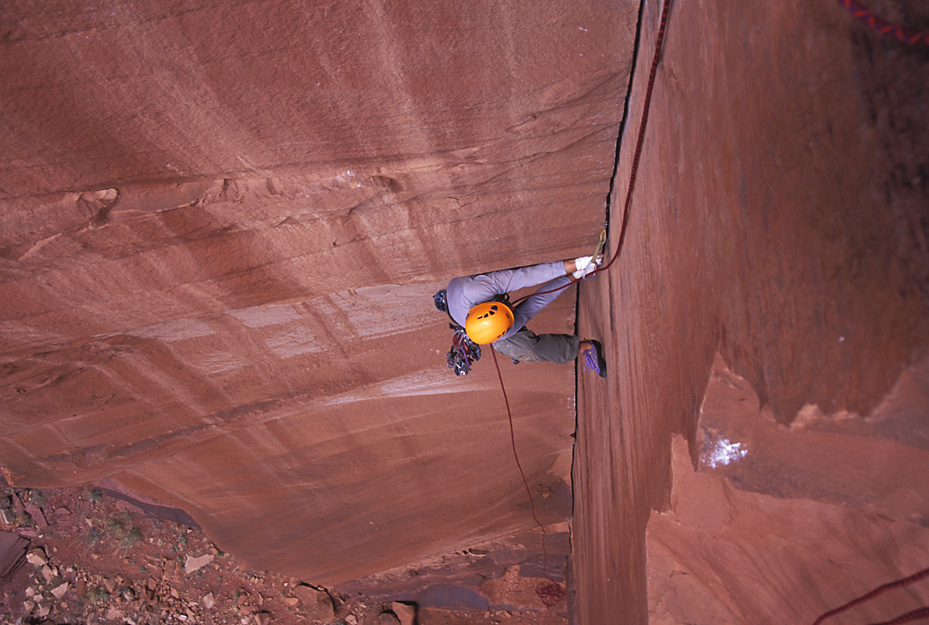
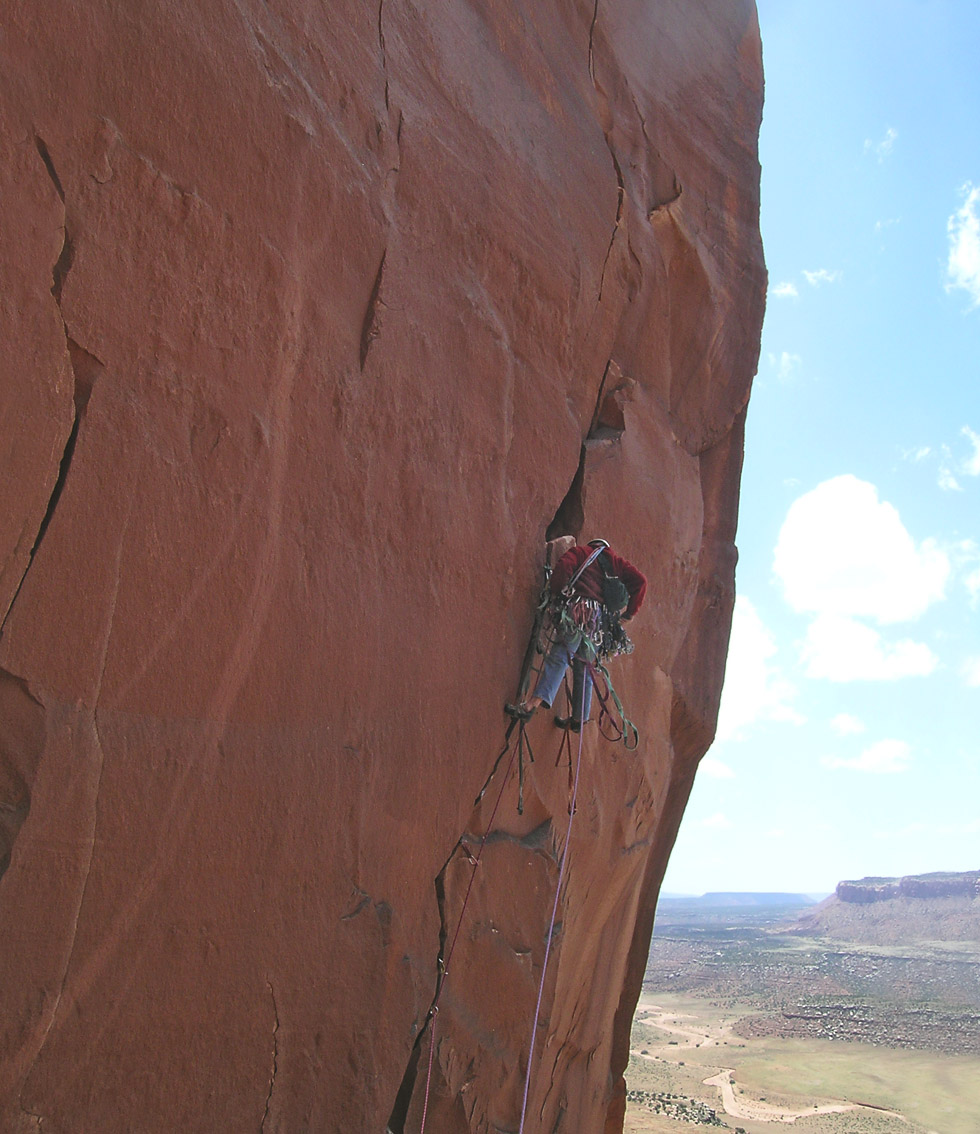
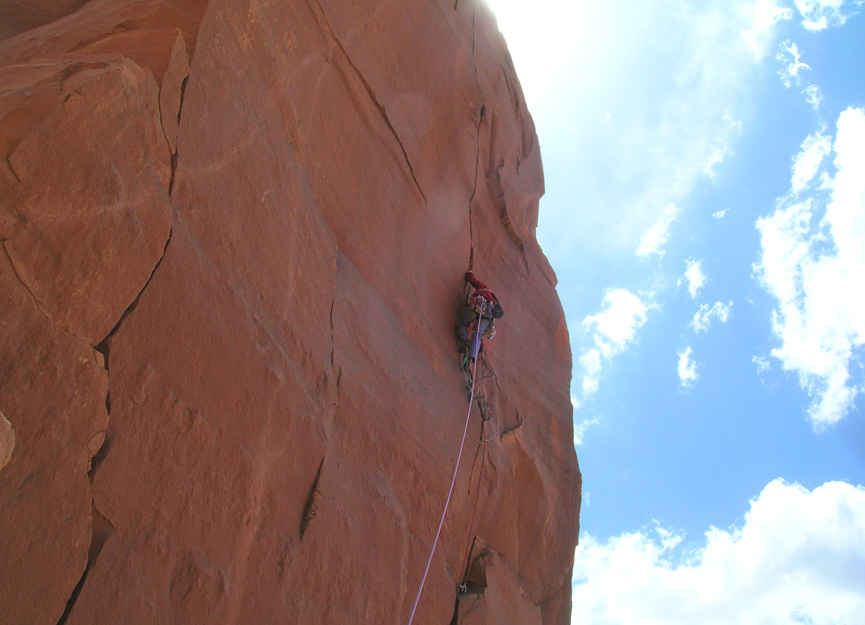
A Large Picture of me getting started on the classic pitch. |
Looking for some good protection. :) |
Honestly, the line we followed must be the best two pitch tower link-up around Moab for hard-persons. |
It even made me want to come back and try to free climb it. Of course I would have to start with the 1st pitch of Hoop Dancer (5.9) if I was to have a chance on this pitch. |
It just gets better and better the higher you get until you turn the lip of the overhanging wall. |
From the lip, it's a typical desert chossfest. |
The moves are easy though and there is some reasonably good gear along the way. |
A large shot of the striking and difficult Sacred Space on the King of Pain. |
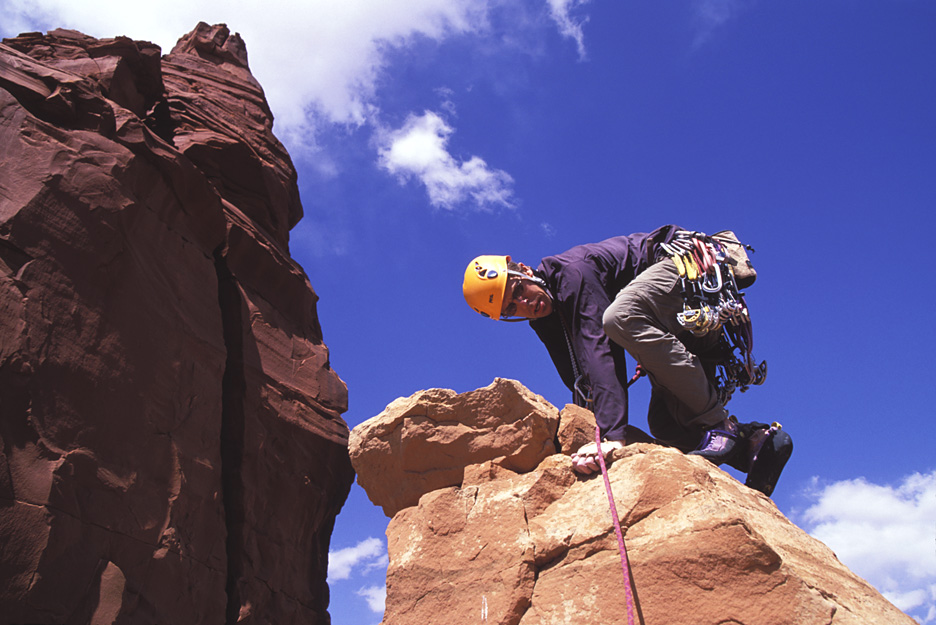
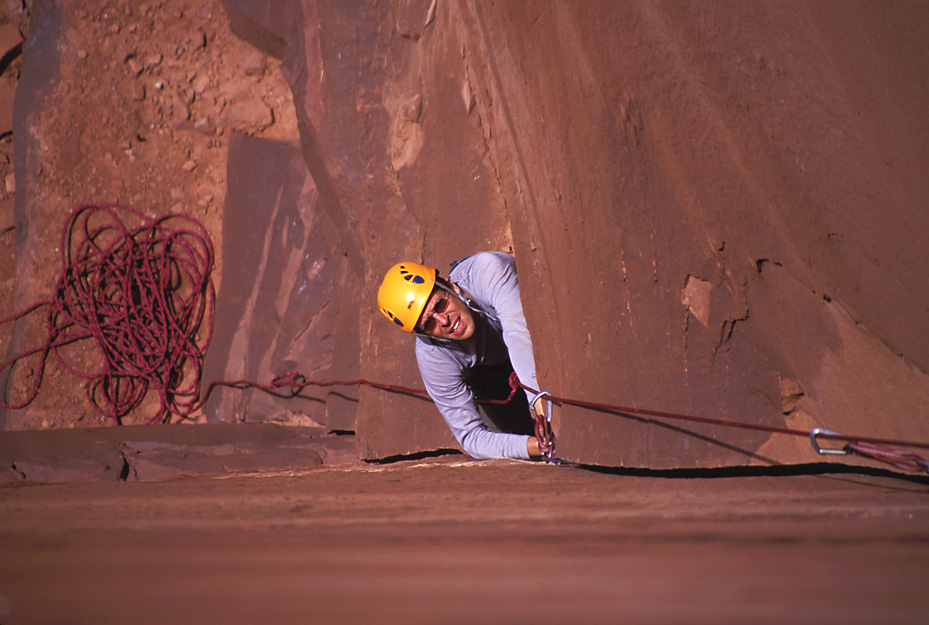
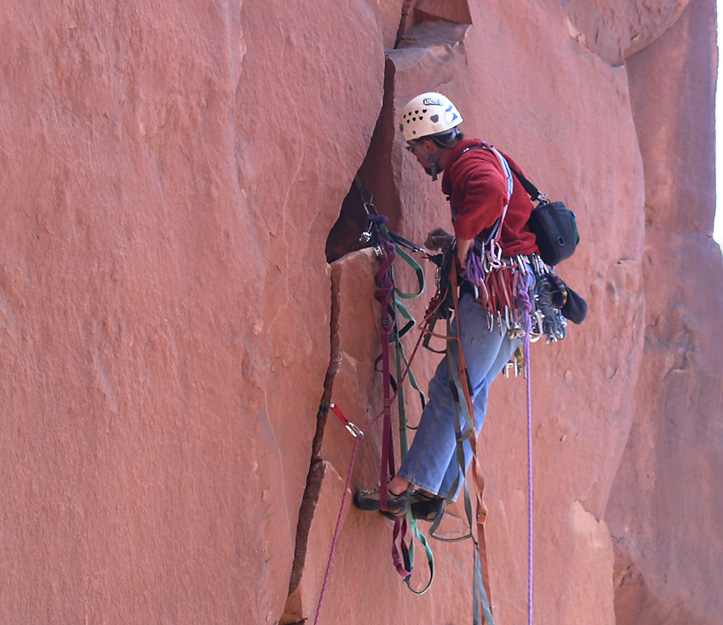
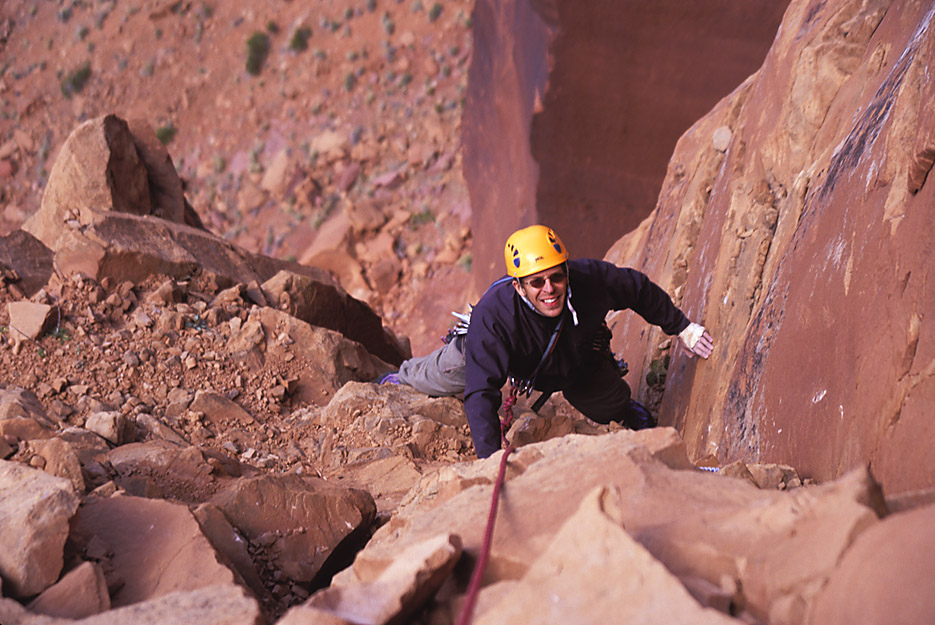
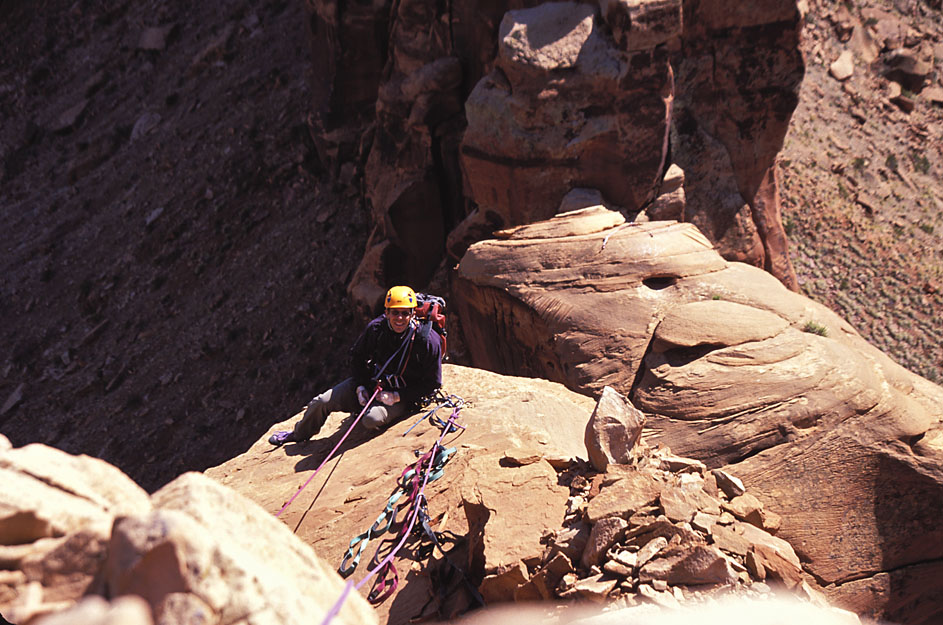
Ian approaching the belay. |
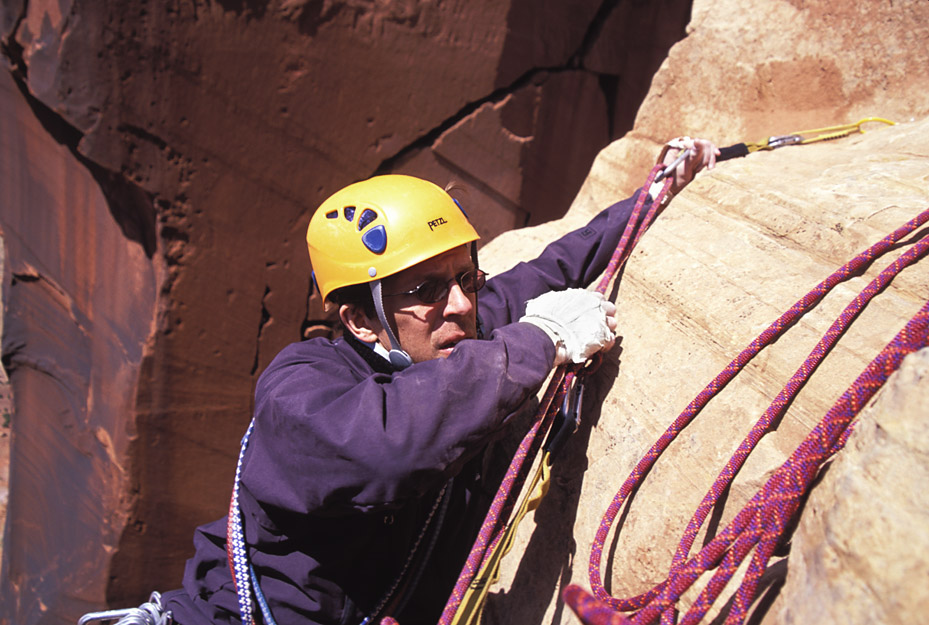
Ian rearranges his rope so he can climb to the top. |
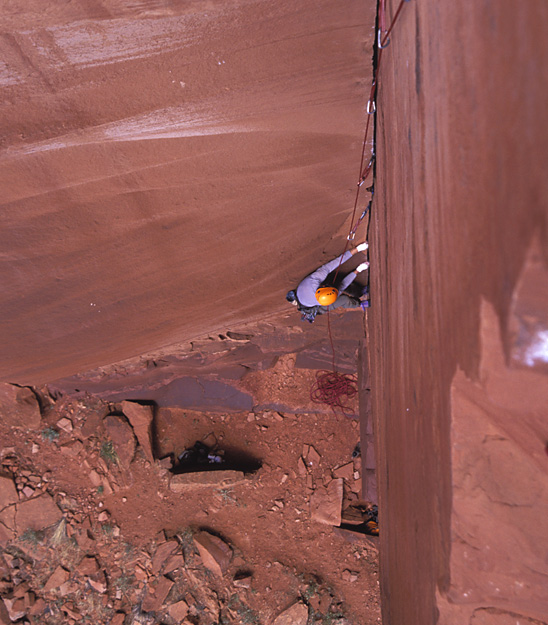
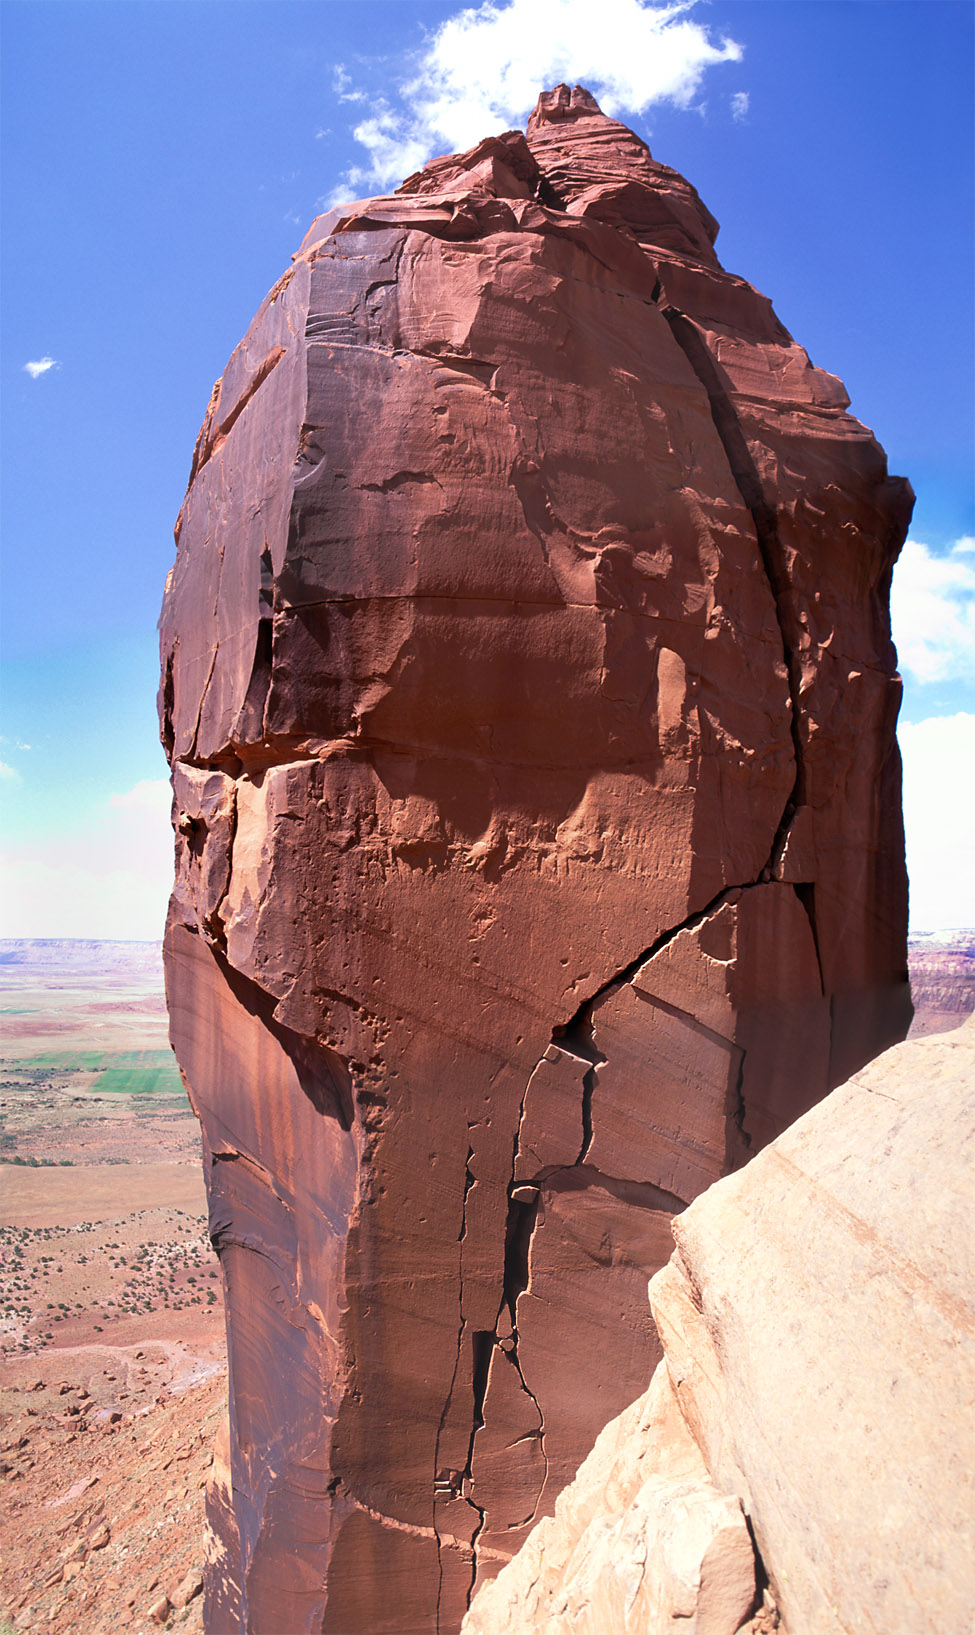
Drum roll please................................. |
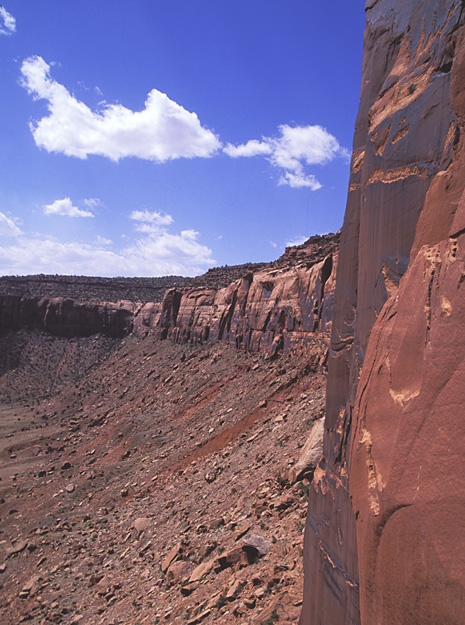
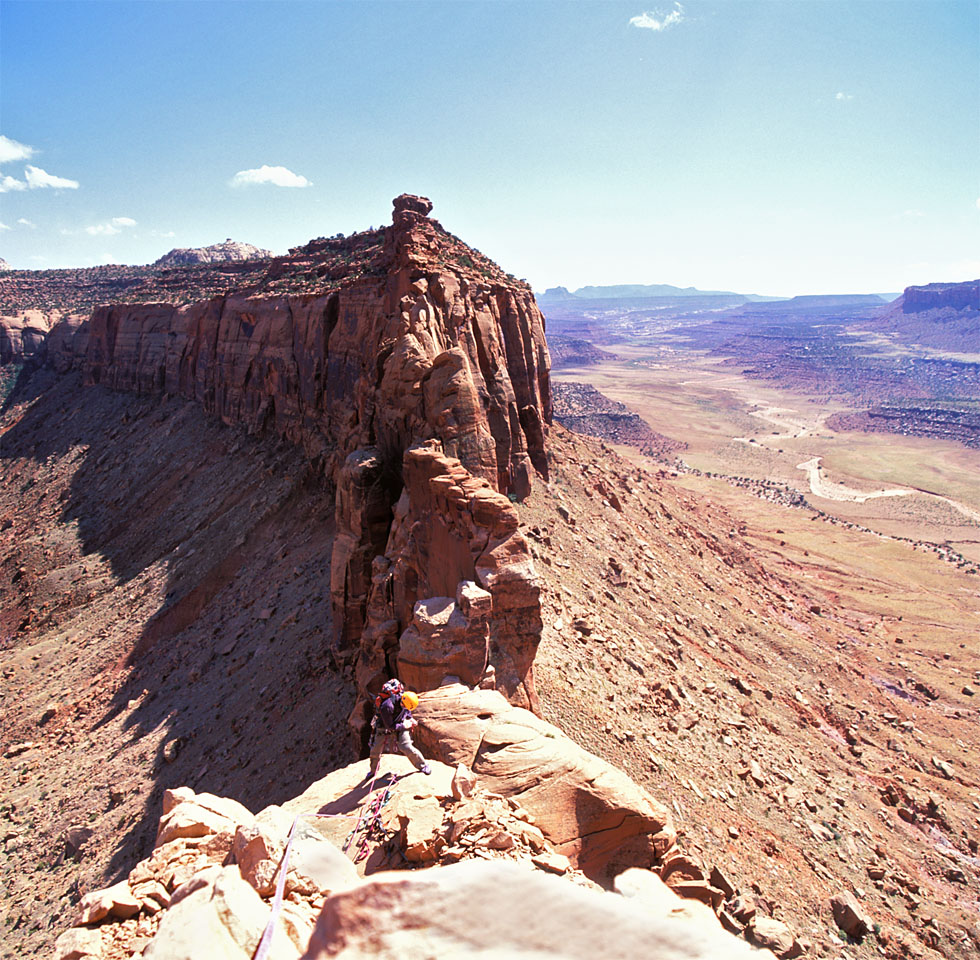
A vertical pano looking down the spine of the Bridger Jacks. |
|
|
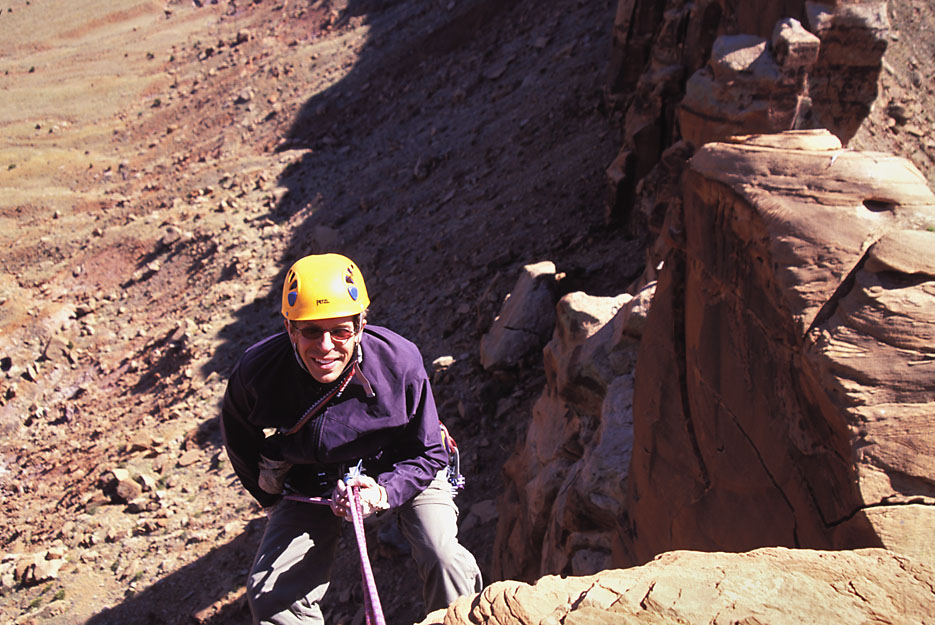
Ian at the top of the first rappel. |
Looking back up at me on top. |
A close up. |
|
Ian sets off in search of a cold beer. |
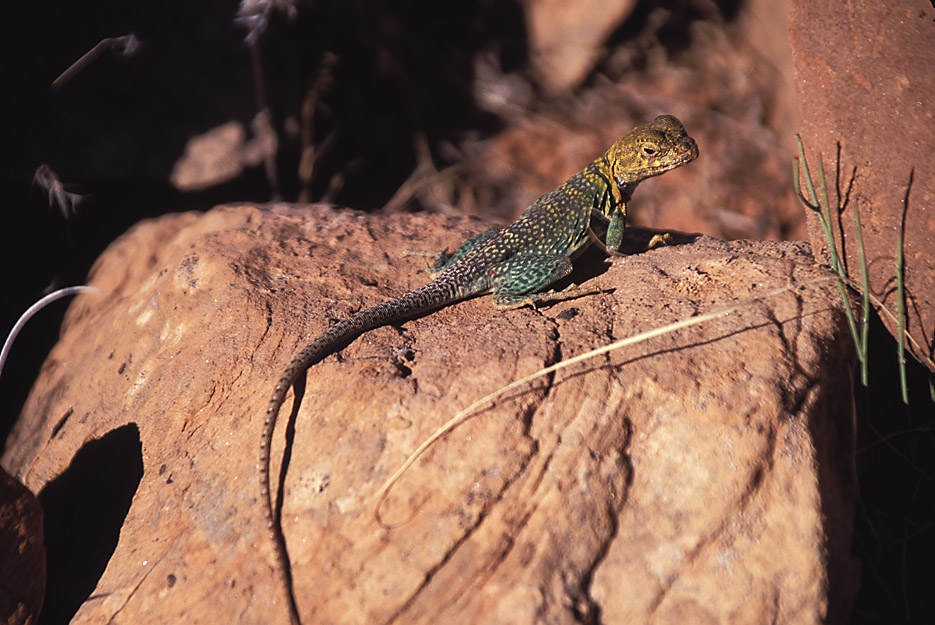
Check out this little guy we met on the way out. Anyone know what it is? |
|


